Saturday, February 20, 2016

Sharing is Caring


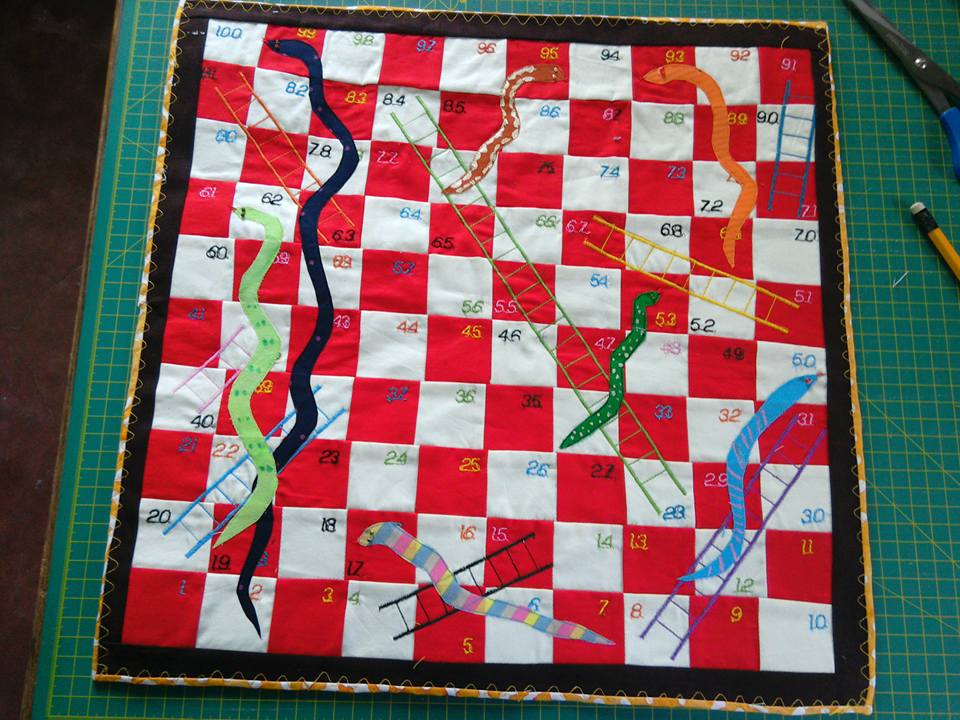
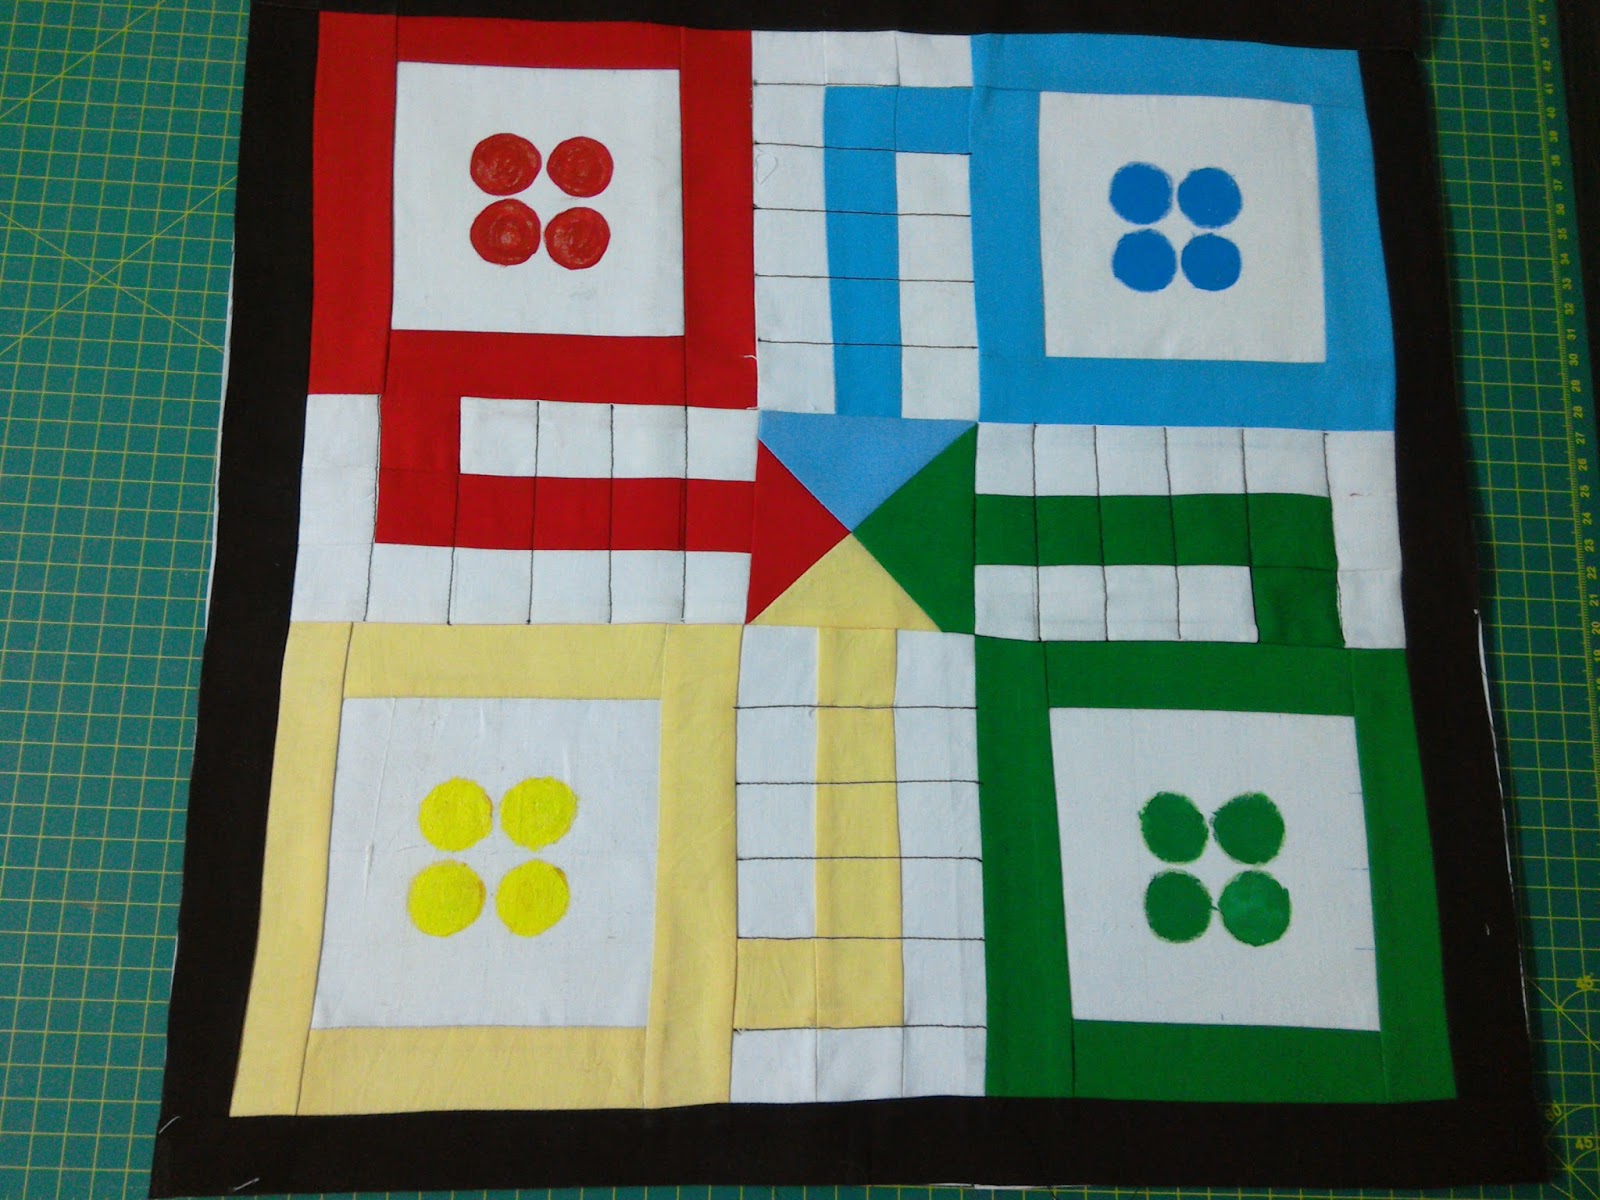
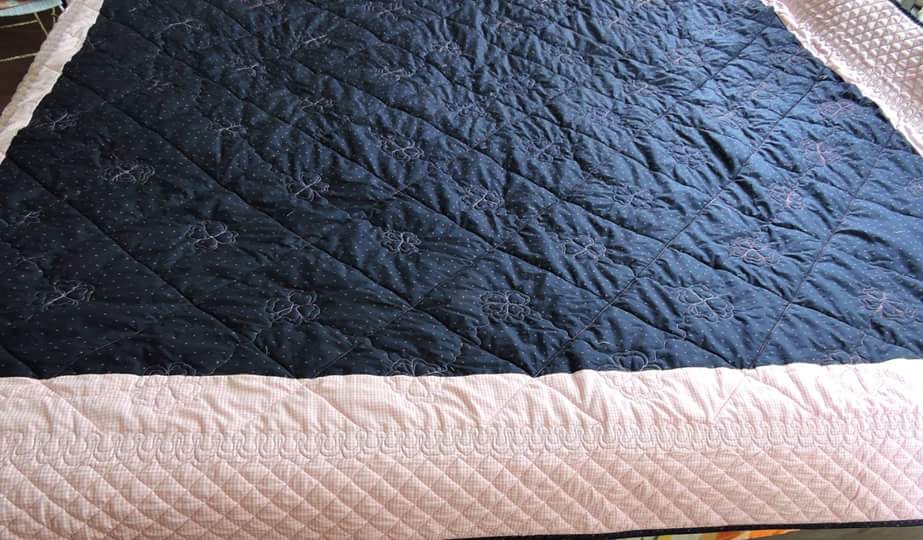
There are so many quilts I have made that I wish I had written a tutorial on the process as I soon forget how I arrived at my measurements. But I am always lazy about taking pictures as I work and often start with good intentions that are forgotten down the road. And so those tutes never get written. And yet I am always so grateful for all those well written tutorials that spare me doing complicated math and are well illustrated too. This time when I drafted a simple board game and then a second one to go on the back I thought it was time to show some caring. A sort of thank you to all those who share freely. I managed to take pictures of almost all the steps too. Yes almost! Some did get missed out so you may have to guess a little. Here is the finished board - this side
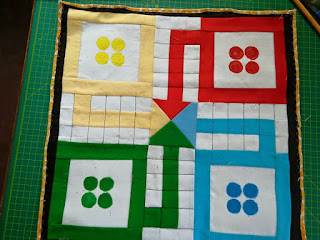
And that side.


Snakes and Ladders tute
Fabric in two colours preferably  solids as it gets too busy otherwise.
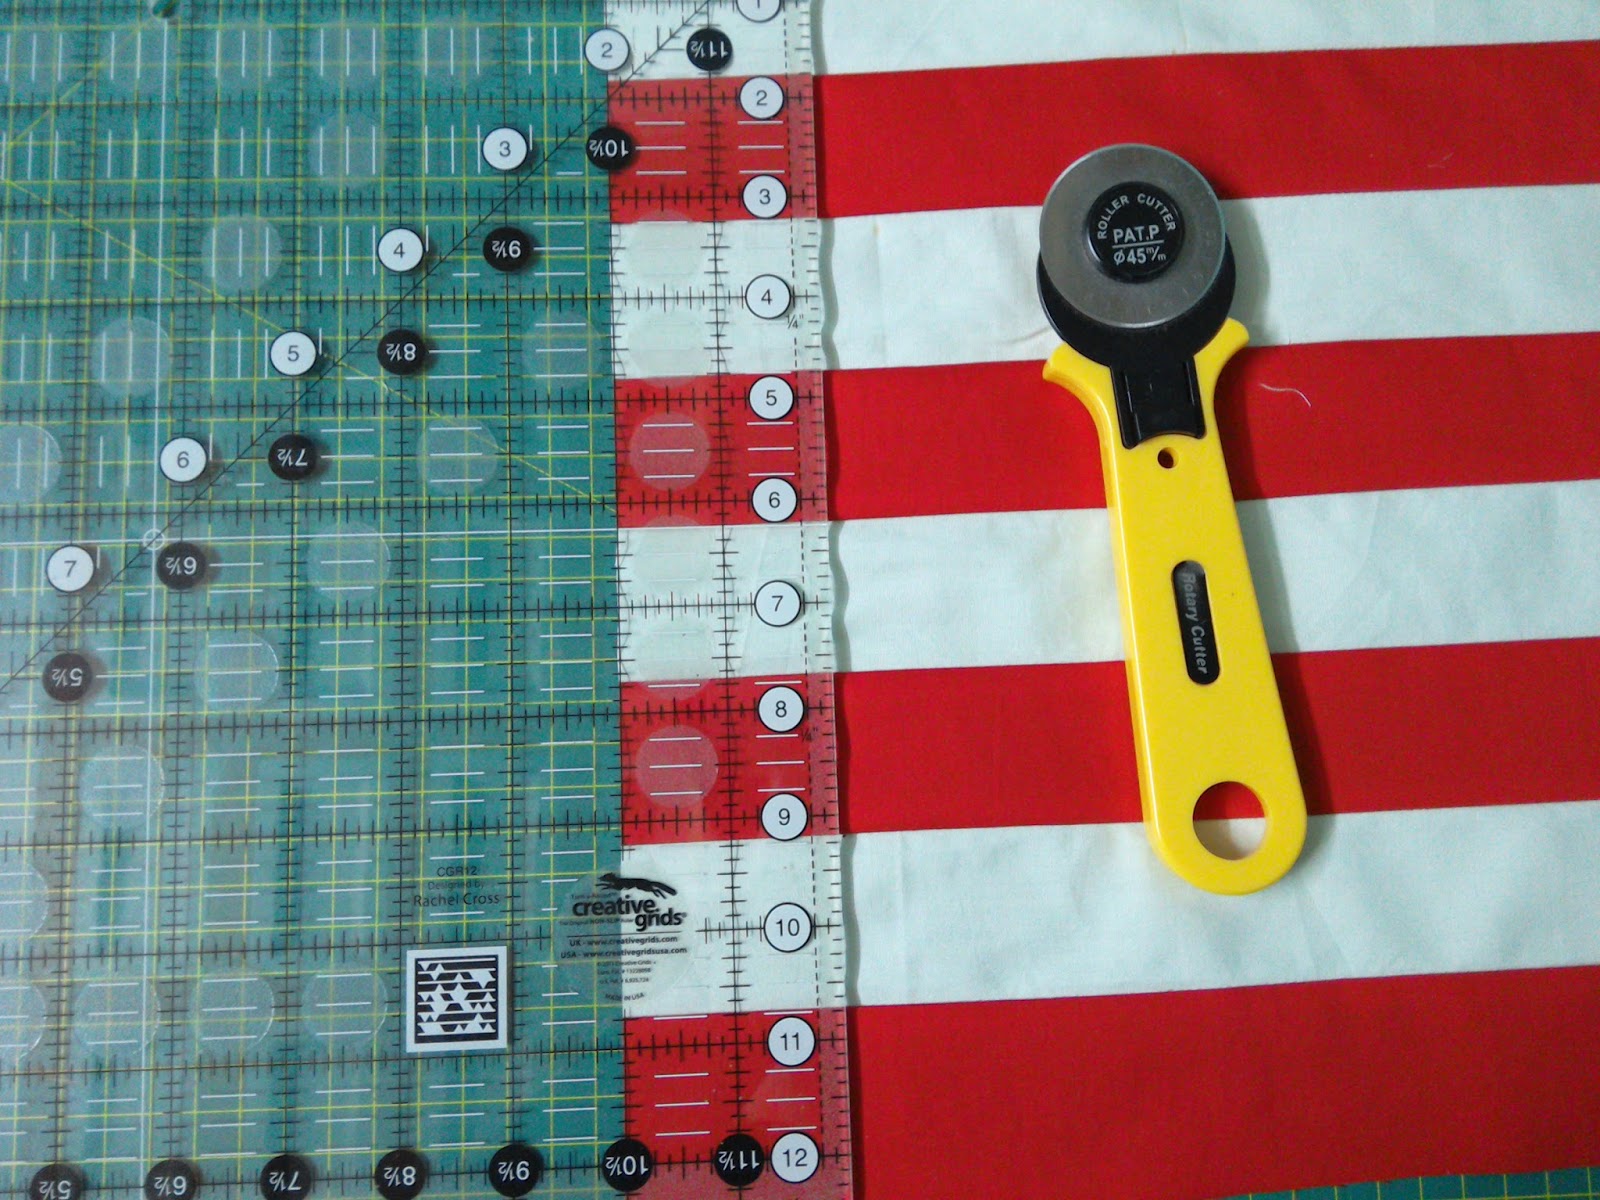
10 strips of 2.5” x 20” in each colour.
Strip sew them alternating the colors and keeping  a seam of ¼”.


Cut them across at 2.5" intervals.
Arrange the strips so that it looks like a chess board and sew again with ¼ seam allowance.

.


Press with hot iron to make it lie flat.  Add a light interfacing to give the patchwork some stability. That is the basic board. Now for the embellishments
 I googled the game and used an online image to decide where the ladders and snakes would go but I am told there is no hard and fast rule. Just make sure you distribute them evenly over the board and use the same number of ladders and snakes. For the ladders I marked them first and then used narrow satin stitch to do the sides of the ladder and straight stitches for the rungs. I did sew the rungs twice as I had to travel back and it looked better that way.
The snakes were a little more of a challenge as I decided to use HeatnBond Lite for the applique. Now I think that needle turn would be a better idea as long as you cut the fabric on bias. If you are fusing you will need to draft the board on paper, draw the snakes, cut them out and trace them after reversing on your preferred brand of fusible paper. Bond it with fabric and lay it in the right place and press. Then sew over it. Add your embellishments like a red tongue and beady eyes. I did use beads. I also painted the snakes for the heck of it. And then go back to kindergarten and sew the numbers or write or paint them. Make sure the path of the numbers is correct though. I used the font in my machine. Do the numbers at the end as often the snakes may end up hiding them otherwise.

And that is your Snakes and Ladder! And now for the Ludo board!

Ludo board tute
You can do this with scraps so I am not giving any fabric requirements. You need a neutral colour and the four colors that make up a ludo board. You could of course change them around if you feel like. I have gone with red, green, blue and of course yellow and used white as the neutral. Since I was backing the Snake and Ladder with this board, I made sure the measurements were the same.
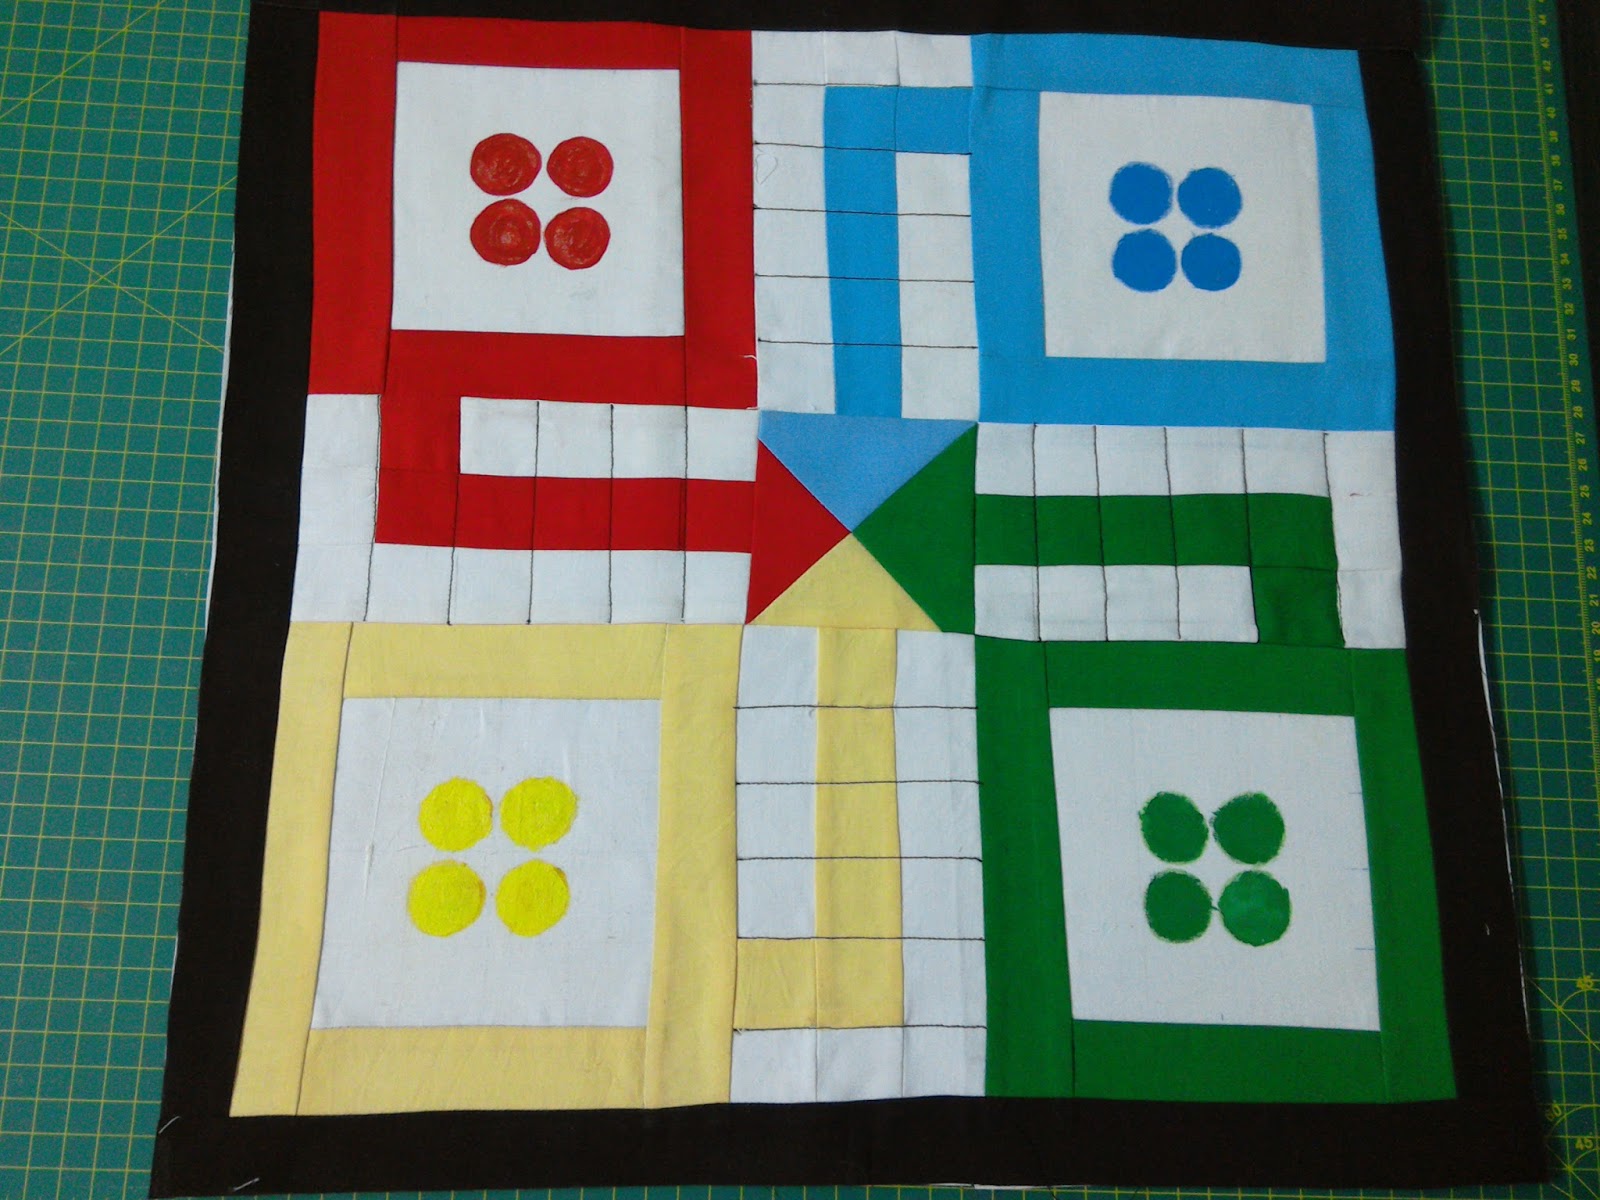
Cut 4 nos of 4.5” squares in white and 4 strips each in the four colors of 1.5 width. The strip length can be wof as you can trim and use it as needed. Like a log cabin or courthouse block sew the strips around the white square. You will do this for each of the four colourṣ


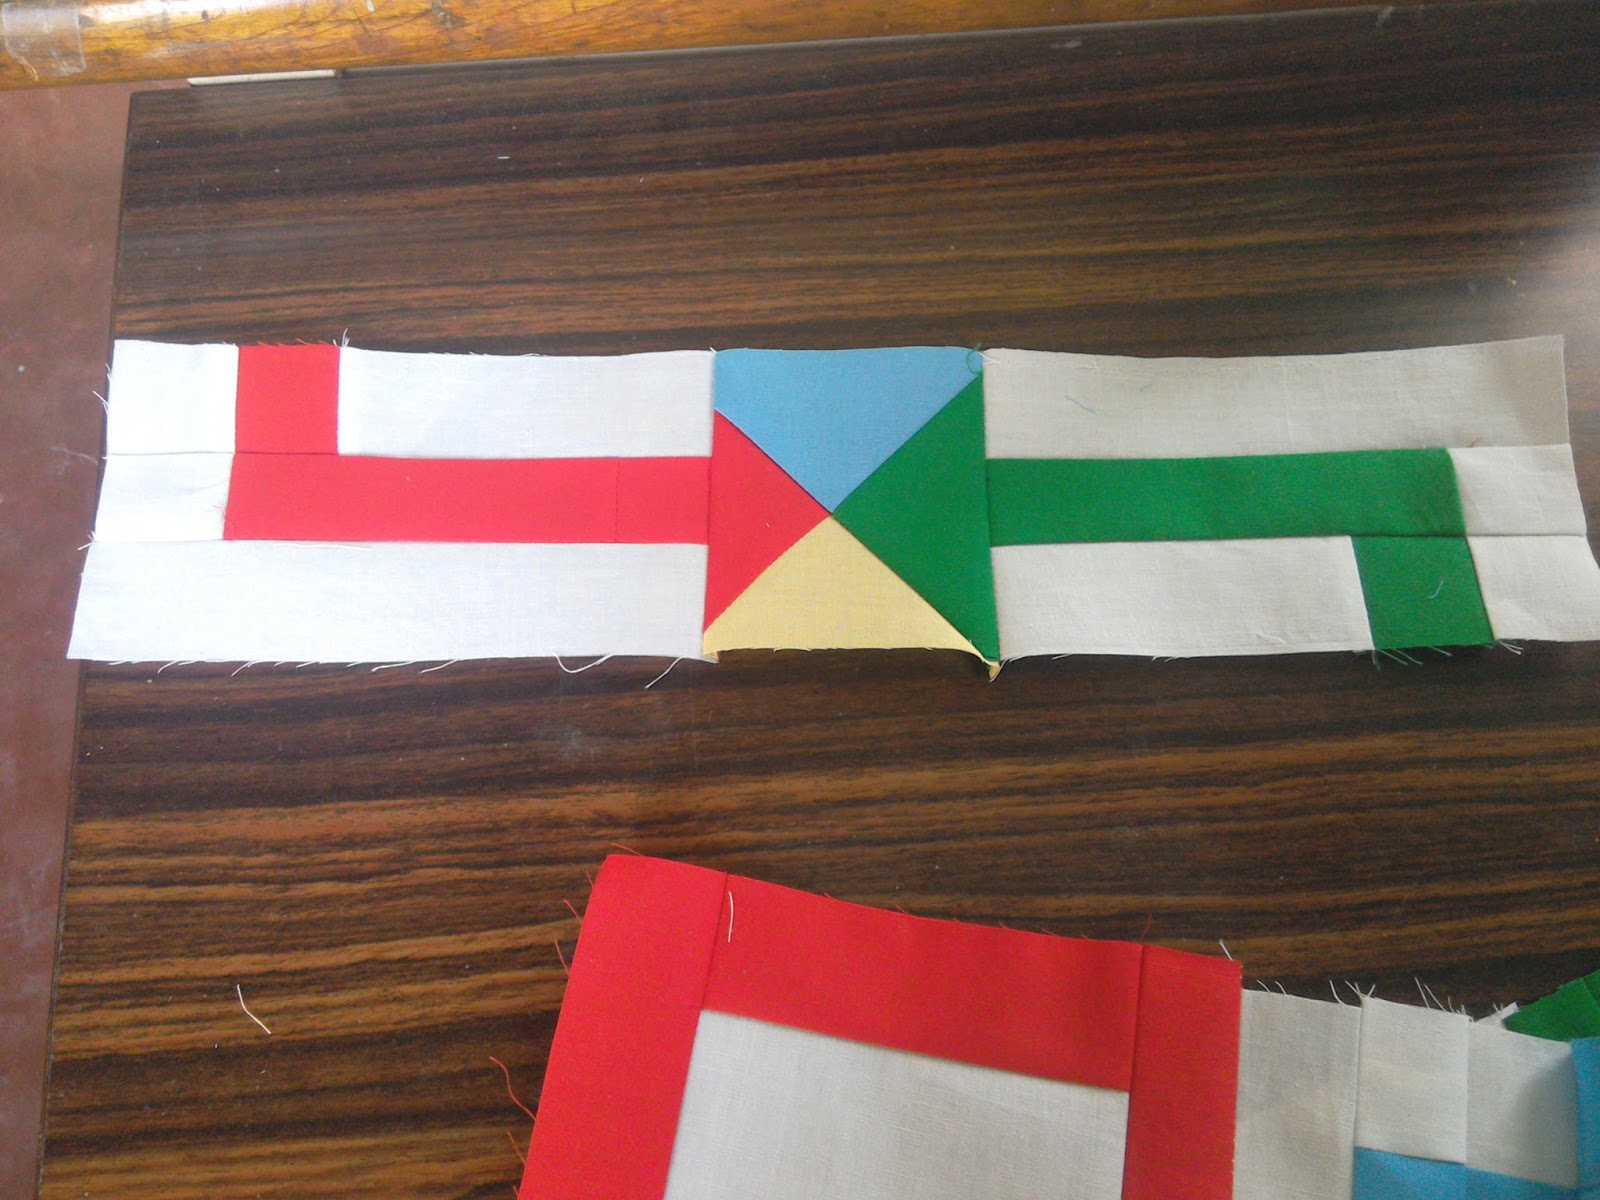
The next step is a touch less simple. If you see the picture you will see that the first step out is in the color of the square you start out with. And the centre path is again in colour. The finished size of the pathway is 5x3. So for every color cut 1 strip in white measuring 5.5” into 1.5”. One in the color (red, green etc) measuring 4.5” x 1.5”. Add a piece of white measuring 1.5 into 1.5 at the bottom end. The third strip is a white one with the color as a step not quite at the bottom. Cut a white strip 4.5” in white, trim off a piece that measure 1.5” inches from this and add a piece in matching colour measuring again 1.5 x 1.5. Now sew back the white. Sew all three strips together.
For the centre which is made of all the colours, cut 5" squares in each colour. Lay any two colours, right side facing and sew up to make a half square triangle as described here. Do the same with the other set of colours. Take one each of the resulting HST and again following the same method sew up to get a QST in 4 different colourṣ. I missed taking pictures at this stage. Trim carefully to get a square measuring 3.5". You can see that I trimmed too much on one side and too less on the other. Make sure the diagonals meet at the corners.
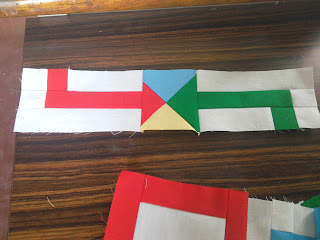
Layout the board and double check to make sure your colors are all in the correct place. Sew up like you would any patchwork.
Now mark every 1 inch in the pathway and sew in black to mark the squares. Also in the centre of the squares mark the spot where one would keep the counters. I painted the circles but you could simply applique it You should have something that looks like the picture below.
.
I added stiff interfacing so the board would not flop and also added a 1 inch border. I placed the two boards wrong sides together and finished off with binding. You can also sew the two boards together after placing them wrong sides together. Leave a gap and turn it inside out. Sew up the gap and also topstitch.
You could personalise it with the name of the kiḍ I opted not to do iṭ

Thursday, February 4, 2016

My sister's quilter

This month' s OMG target will be my sister' s quilt. I have dragged my foot a lot on this one just because she was not in a big hurry. She also has asked for matching pillow covers and cushion covers.  Even if I don't get those done I would like to get the quilt done. I am waiting for the borders, which are going to be block printed. Can't wait to get them. I also had a request from dh for a wallet in faux leather as he had to throw the one he was using.  He does not think I can really do it but give me a pattern and i can do a decent job. I will be googling the net for a pattern as i dont have any saved. I would like to do that this month but as I have to give only one target I would make it the quilt! Here is that picture again.
Linking with OMG Red better Quilts for February.

Sunday, January 31, 2016

Sleep sewing

Yes sleep sewing! After sewing about 50 circles to the background fabric, I am almost sleep sewing them. It does get boring to sew circle after circle down! I knew it would be so and that is why it took me two years to agree to do this for my sister. We discussed so many designs but she would keep coming back to it and so I gave in. Well at least the tough work is over. Just need to put the blocks together and then think about how to quilt it. I did want to use a nice pink thickish crochet cotton and sew around the circles. But 300 of them makes me wonder if I would be spending the next two months hand quilting. Not sure if I can devote so much time even though there is no deadline to finishing the quilt! What do you think. Should I machine quilt bubbles in the spaces between circles or hand quilt?
Linking this with the OMG finish party for Jan hosted by Red Letter Quilts.

Sunday, January 10, 2016

Looking back

Someone' s idle remark had me wondering about all the work I did last year. Truth be told I don't quite remember the number of quilts I made. So I pulled up the photos and took the time to have a second look. When one is making quilts to order there is hardly any breathing space  and so there is no time to dwell on a finish. So taking time now to do it!
This was Mira's  springtimequilt. I never expected it to look so good and there was one happy girl to receive it!
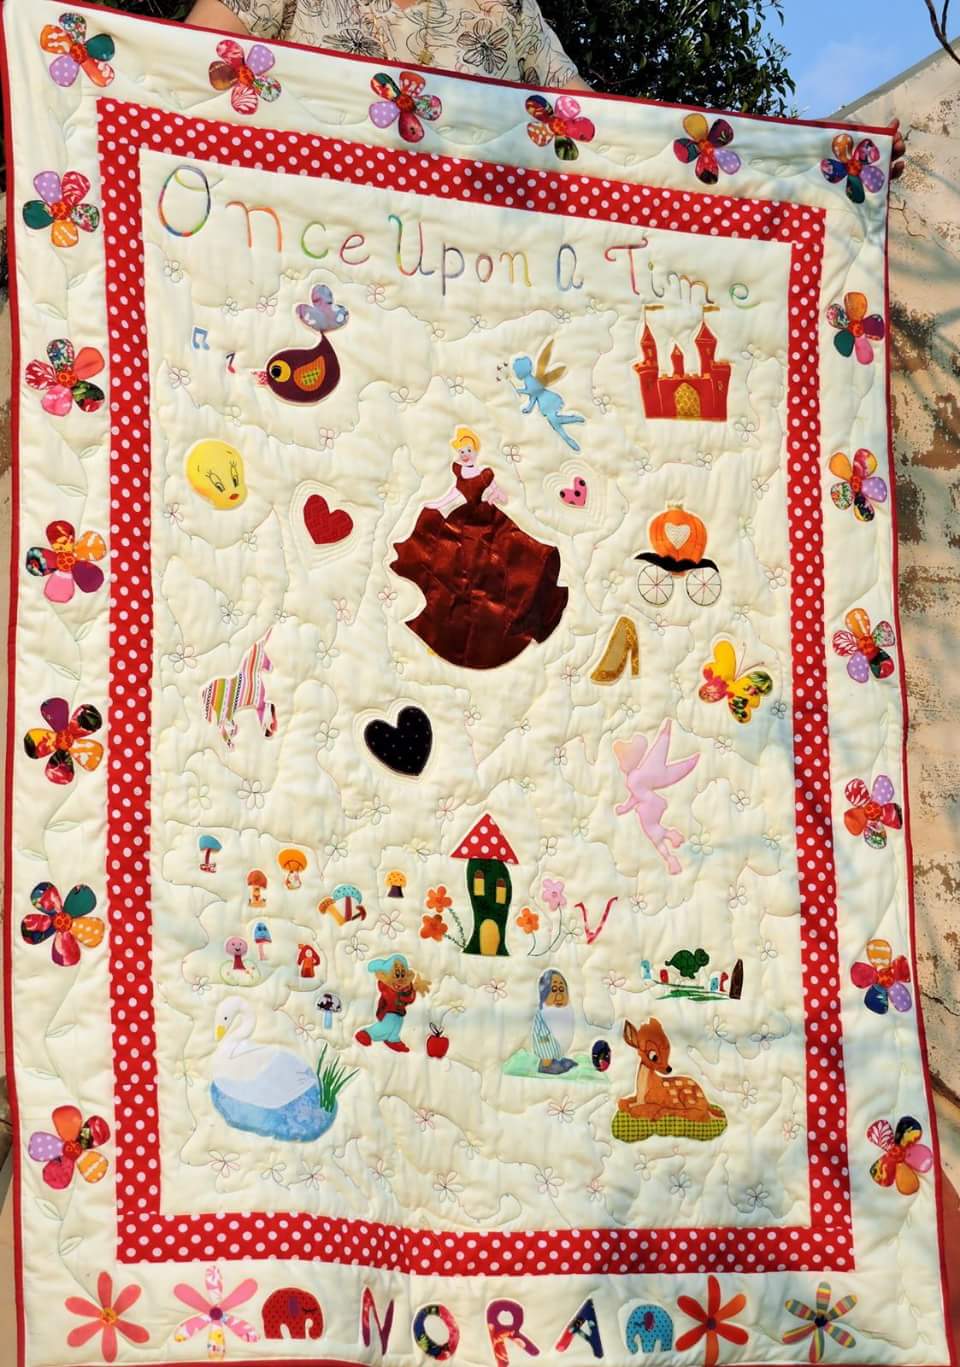
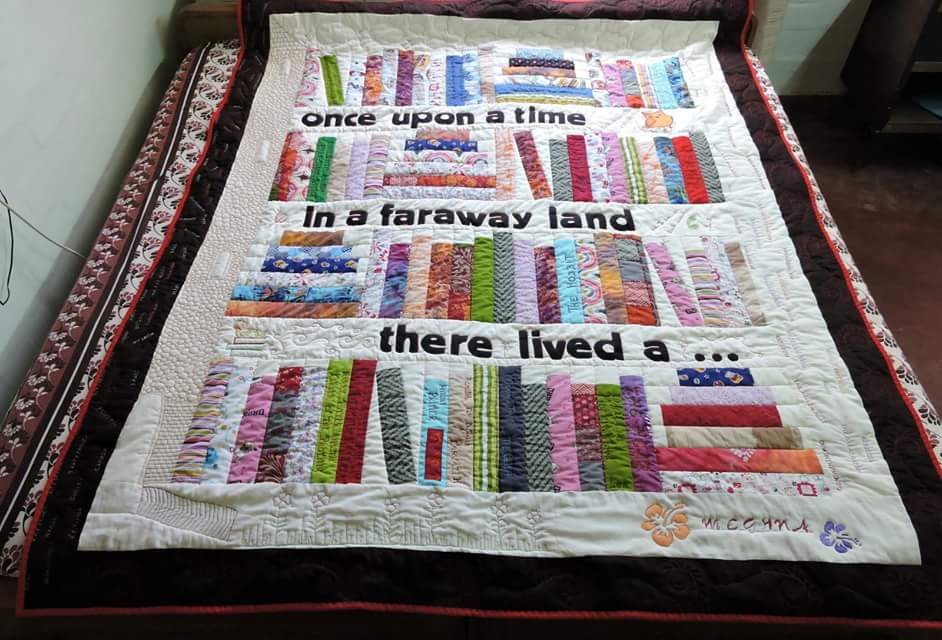
It seemed like everyone wanted a springtime quilt after a look at it. Thankfully I could convince the grandmother to modify the theme. This was Nora's once upon a time quilt!
Another fond grandmother decided to celebrate her 50th wedding anniversary. Y gifting her four grandchildren quilts made by me. This was Sanjog' sweatpants quilt.
This was for the grandma' s sister's grandkids. Aditi wanted a log cabin quilt without any pink! That was challenging not log cabin but not using pink!
Asha's trip around the world was the second quilt for that family.
This was the third quilt for the same family - I loved the back and would have used it as front given the chance!
The front was pretty too and Asha' loved that her name was written many times!
And this was the fourth for the family.Meghna wanted a bookshelf quilt and I loved writing the book names as also the names of a lot of Harry Potter characters as she was a huge fan of the book!

A baby quilt for someone in the family. I used blocks made a while ago to do this. Pretty pleased with the way it turned out and on having used some blocks!
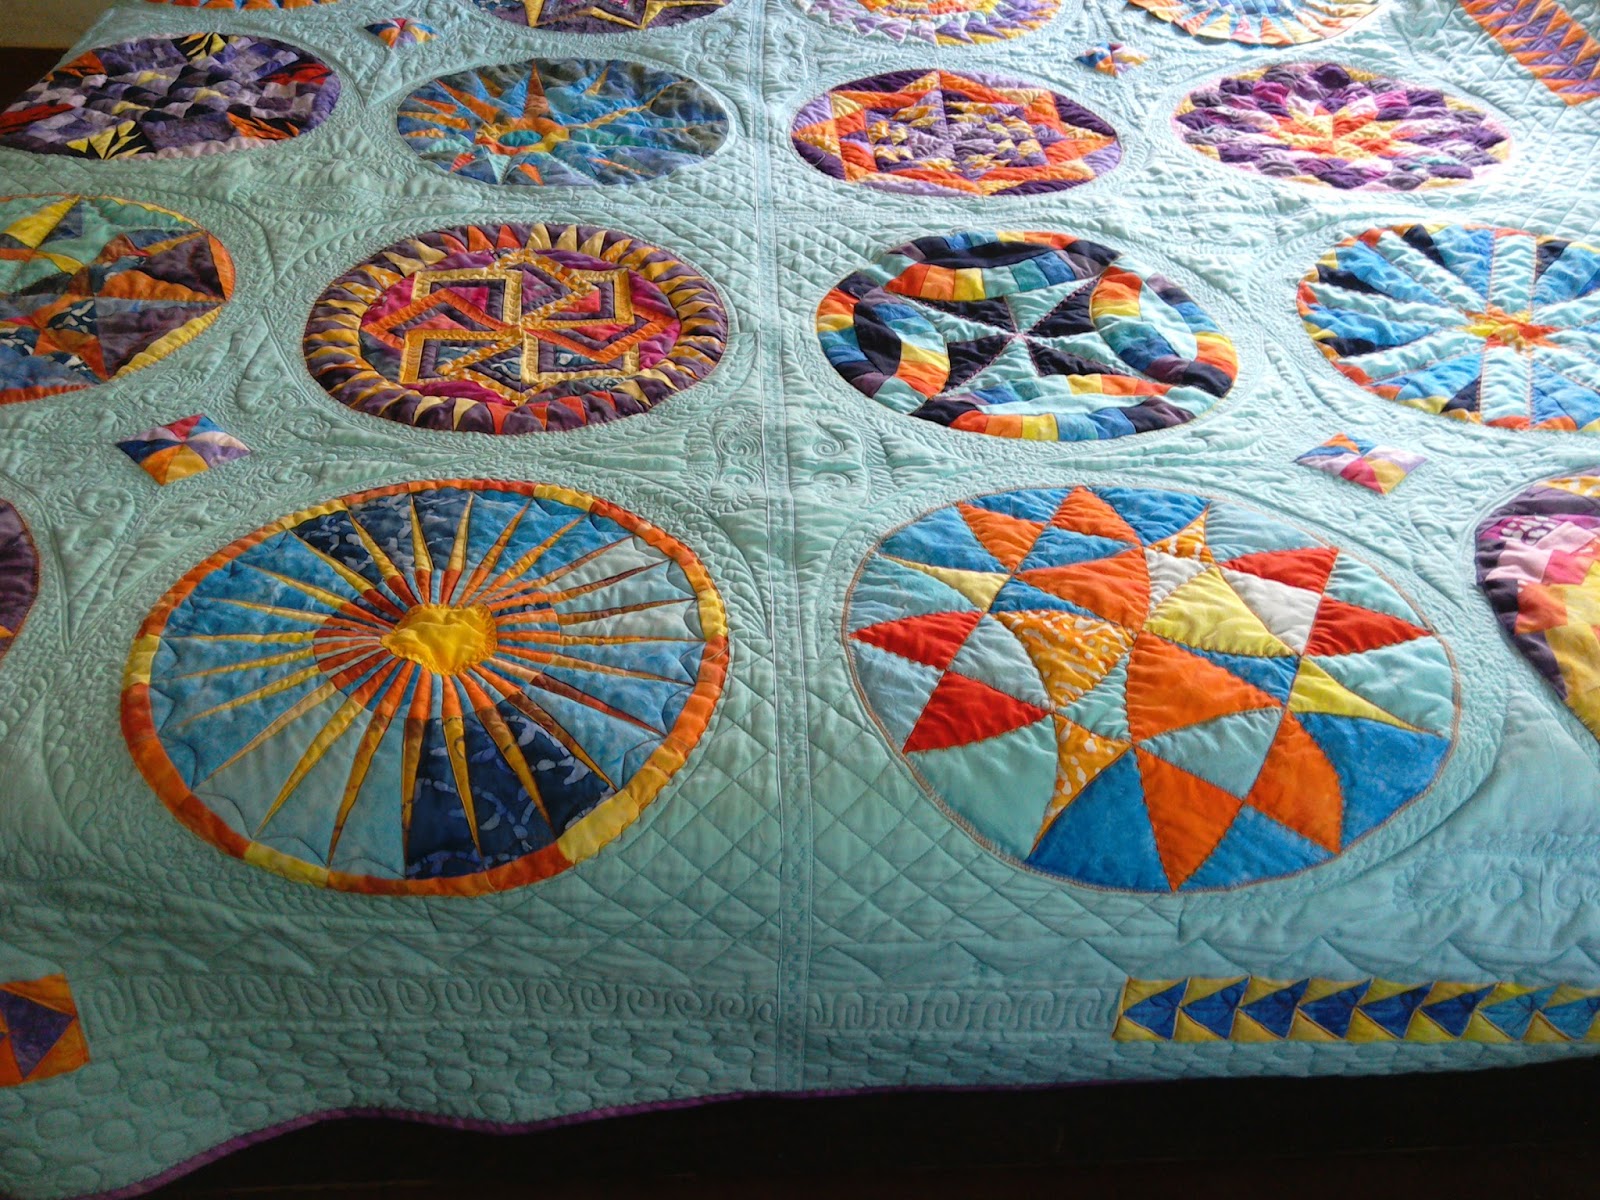
The last one for the year was starstruck! This was a quilt that saw a lot of hard work but the end result was worth it!
And there were a lot of little things that I sewed party purses, car organiser, sketch pen pouch bags and more bags. All in all a pretty decent year!


Saturday, January 9, 2016

Oh my goodness

I have to admit that a promise made publicly seems to prod me more into action than most other things. I suppose that it is true for most people as there are quite a few link ups for finishes every year. Last year ALYOF helped me stay the course for so many of my projects. I was feeling a bit lost to know that they no longer were sponsoring it but relief is always there. OMG or One Monthly Goal is filling the void. So here is my goal for the month and I especially need it as I have not sewn a thing since the start of the year.
DH decided to get the sewing room painted as it was growing literally because of water seeping into the walls from the water tank which was directly above and so he came home with a brush and couple of cans of paint on the last day of the year. Did I tell you he is a die-hard  DIY. And like Tom Sawyer he had me roped in from the word 'go'. The first room to be played around with was my sewing room and once that was done it seemed the natural thing to do the other rooms too. So I am yet to sew a single stitch! Oh and to add to my woes I chopped off the tip of my forefinger on my right hand. A kitchen accident!
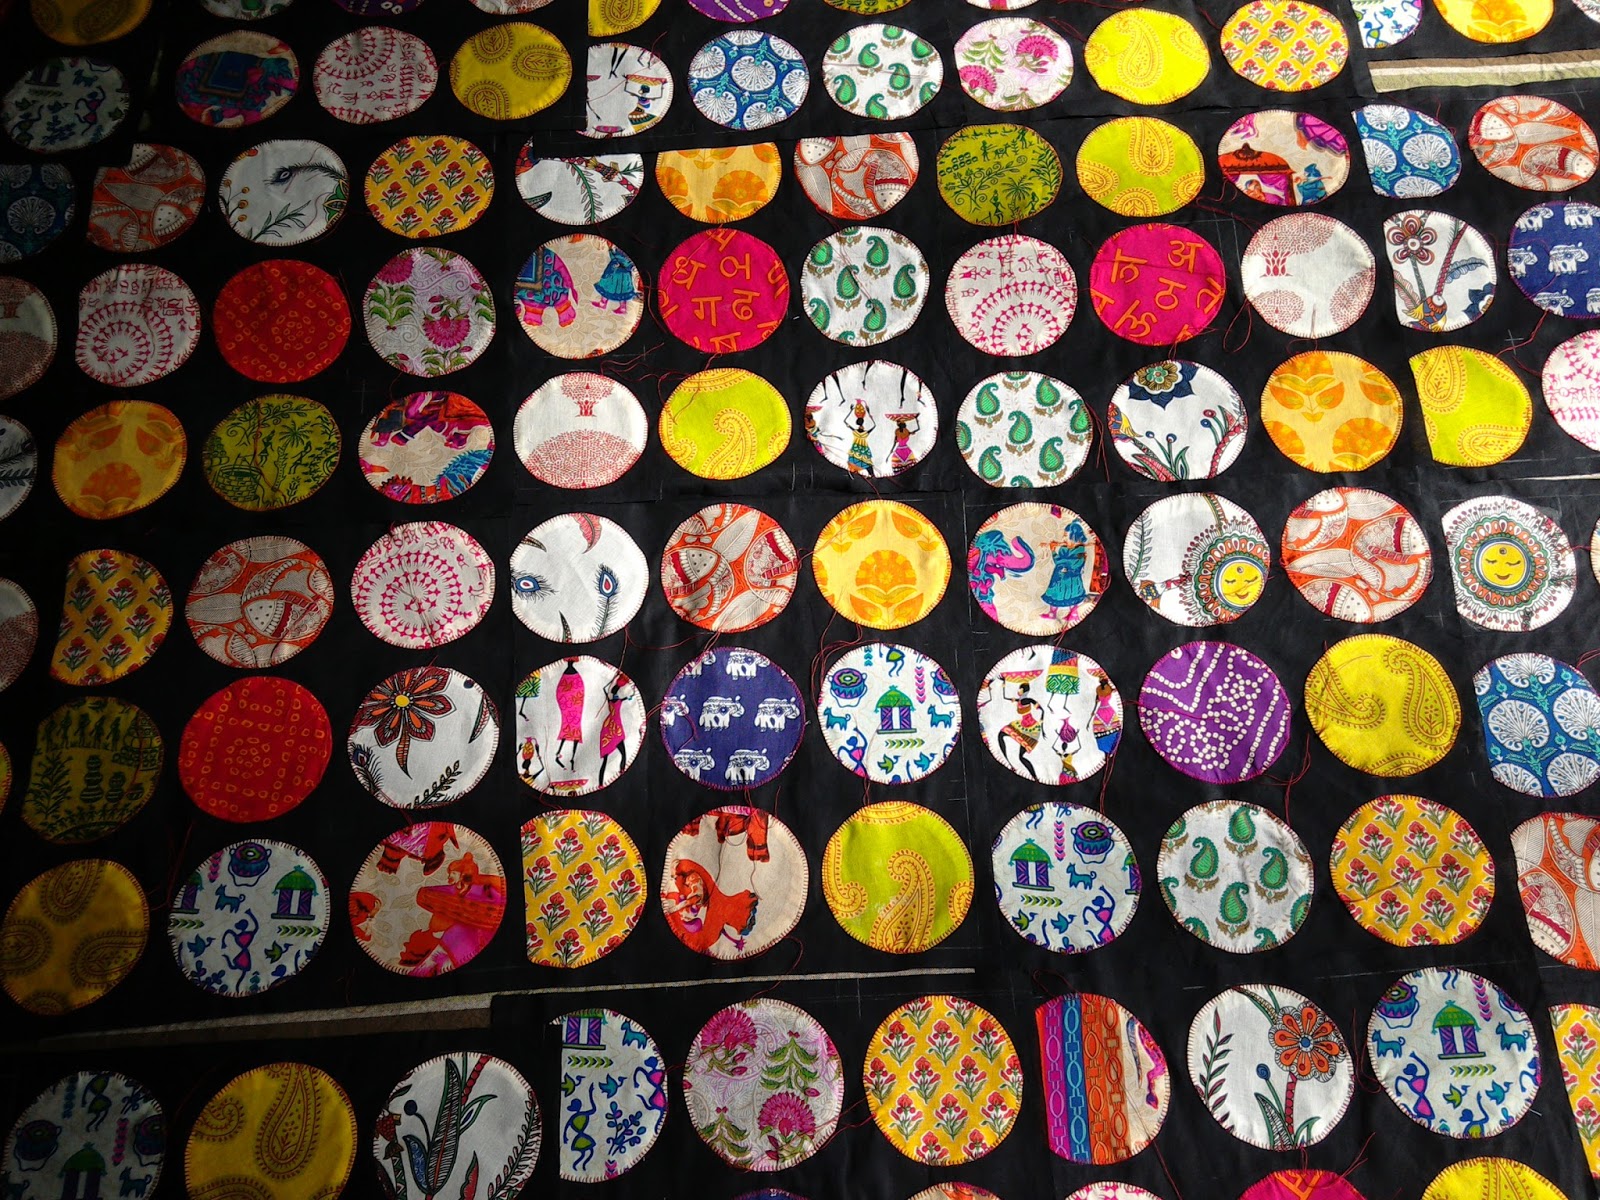
I really need then to set a goal and achieve it this month for fear that I may get into the habit of not sewing! God forbid! I am working on a quilt for my sis. It has been on the cards for two years and she has been reminding me of it in so many different ways. It needed some 300 plus circles to be readied for applique and I managed to do it in the last week of December. So this month I will hopefully get the appliques sewn to the background squares. I would like the quilt top ready but that might be too ambitious considering there is still half the house to be painted. Here is a picture of the appliques!

Sunday, January 3, 2016

ALYOF - 2015 finale roundup

There is something to be said about public commitments. One strives to keep them. And the end result is a bunch of projects completed not stuck there in the back of the closet half- done. This year the link up was with A Year of lovely finishes hosted by Sewbittersweet designs and Fibreofallsorts. Although I kept my promises for more than six months I did forget to linkup twice. Thankfully I did do it properly six times and can linkup now for the finale.


Thank you Shanna and Melissa for giving us reasons to finish


Wednesday, December 16, 2015

Starstruck


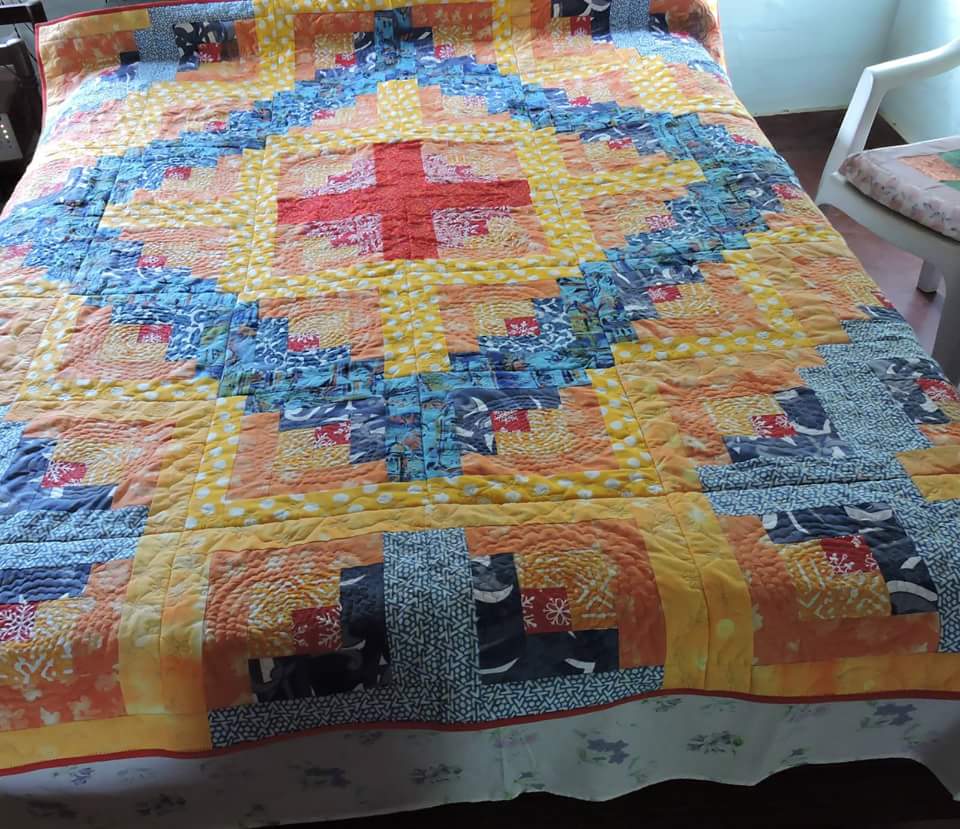
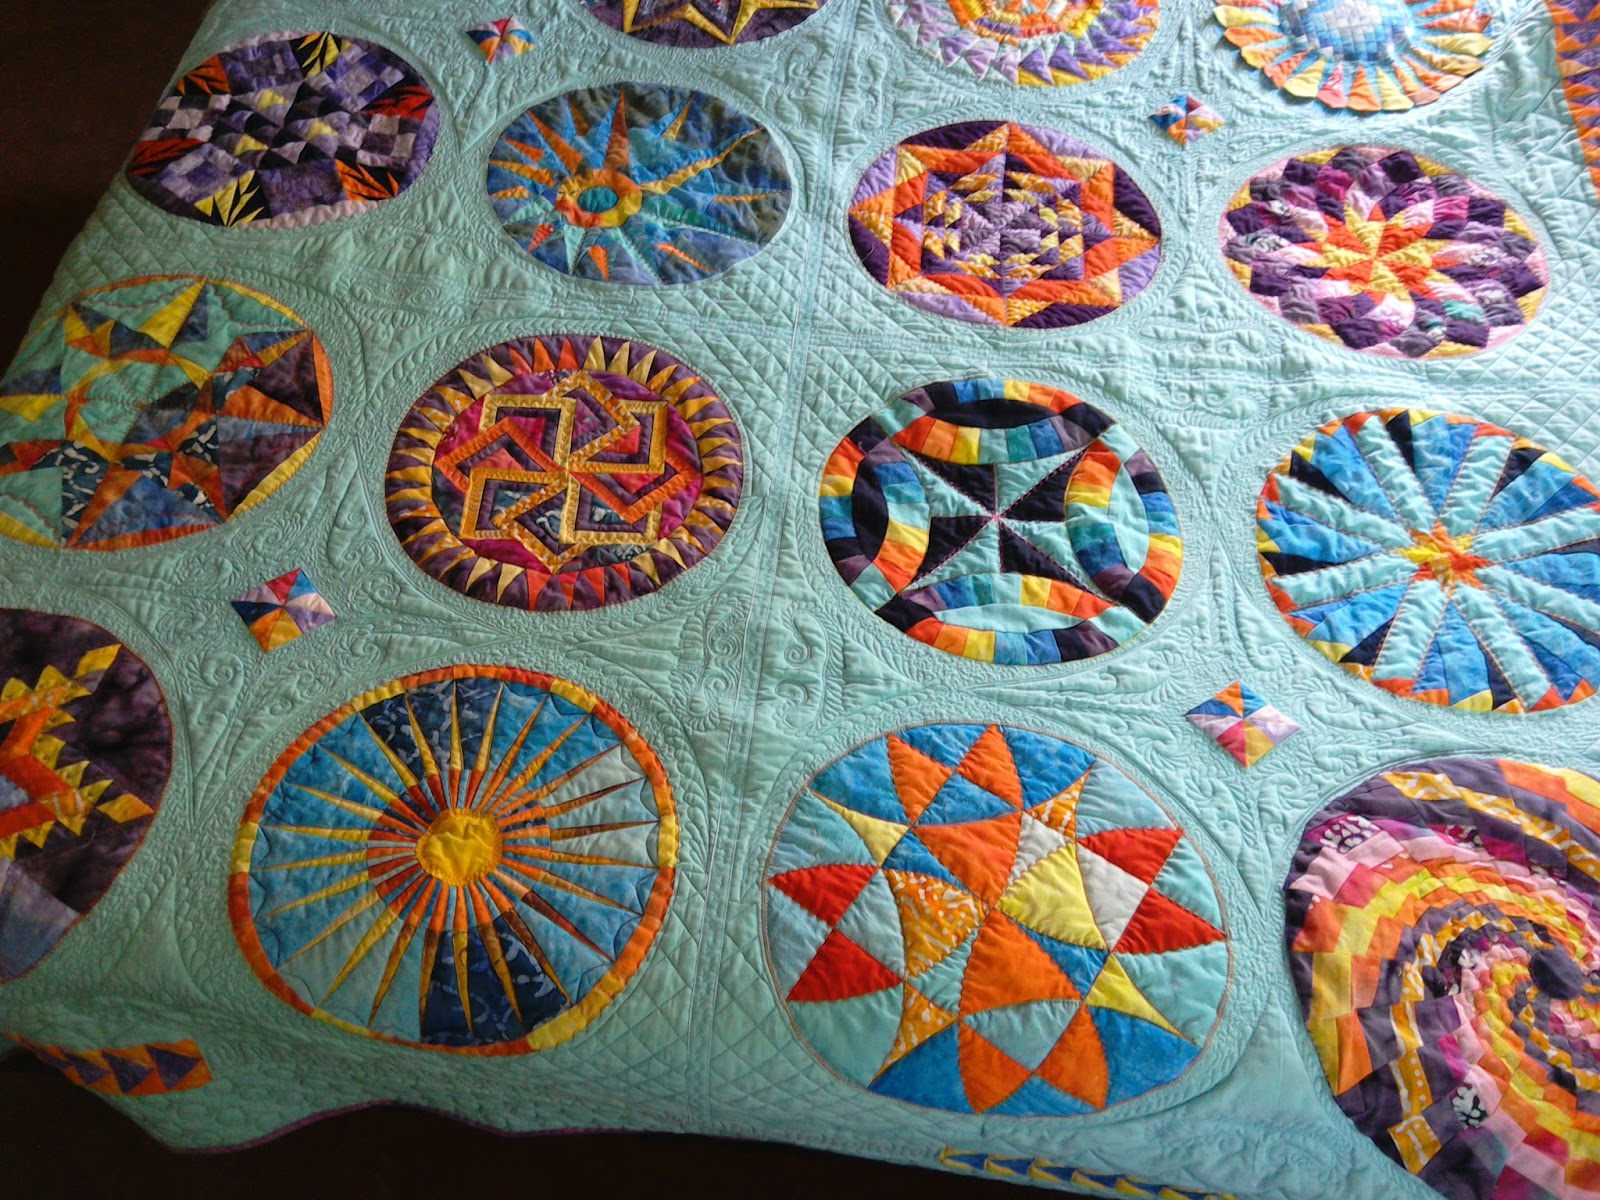
A friend of mine from the US of A by name Cindy Ellerbe remarked once, ‘You Indians jump in with both feet.’ She was commenting on the fact that many quilters in our group would embark on something complicated their first time out, something she felt quilters from her country never did. I have to plead guilty to that charge. I always seem to take on more than I ought to. The proof of that hangs before me – my peacock tapestry which took me three years to complete. And I have a crocheted runner that would add weight to the charge. And now here is my ‘starstruck’ quilt done over a period of one and half years. I must admit that now when I see it in full I wonder how I managed it.

 Madhu Mathur, a fellow quilter has designed the blocks on a free software called Quilt Assistant. The blocks were all paper pieced and were released fortnightly. ( You can find the blocks here). I was doing a quilt practically every month and so my blocks were often relegated to the backburner! Until I decided the quilt was going to be finished before the curtains rang on 2015. And I just about managed to keep my promise.
 The layout for the blocks were also designed by Madhu. I chose this as it was easy to break into panels and do it qayg.

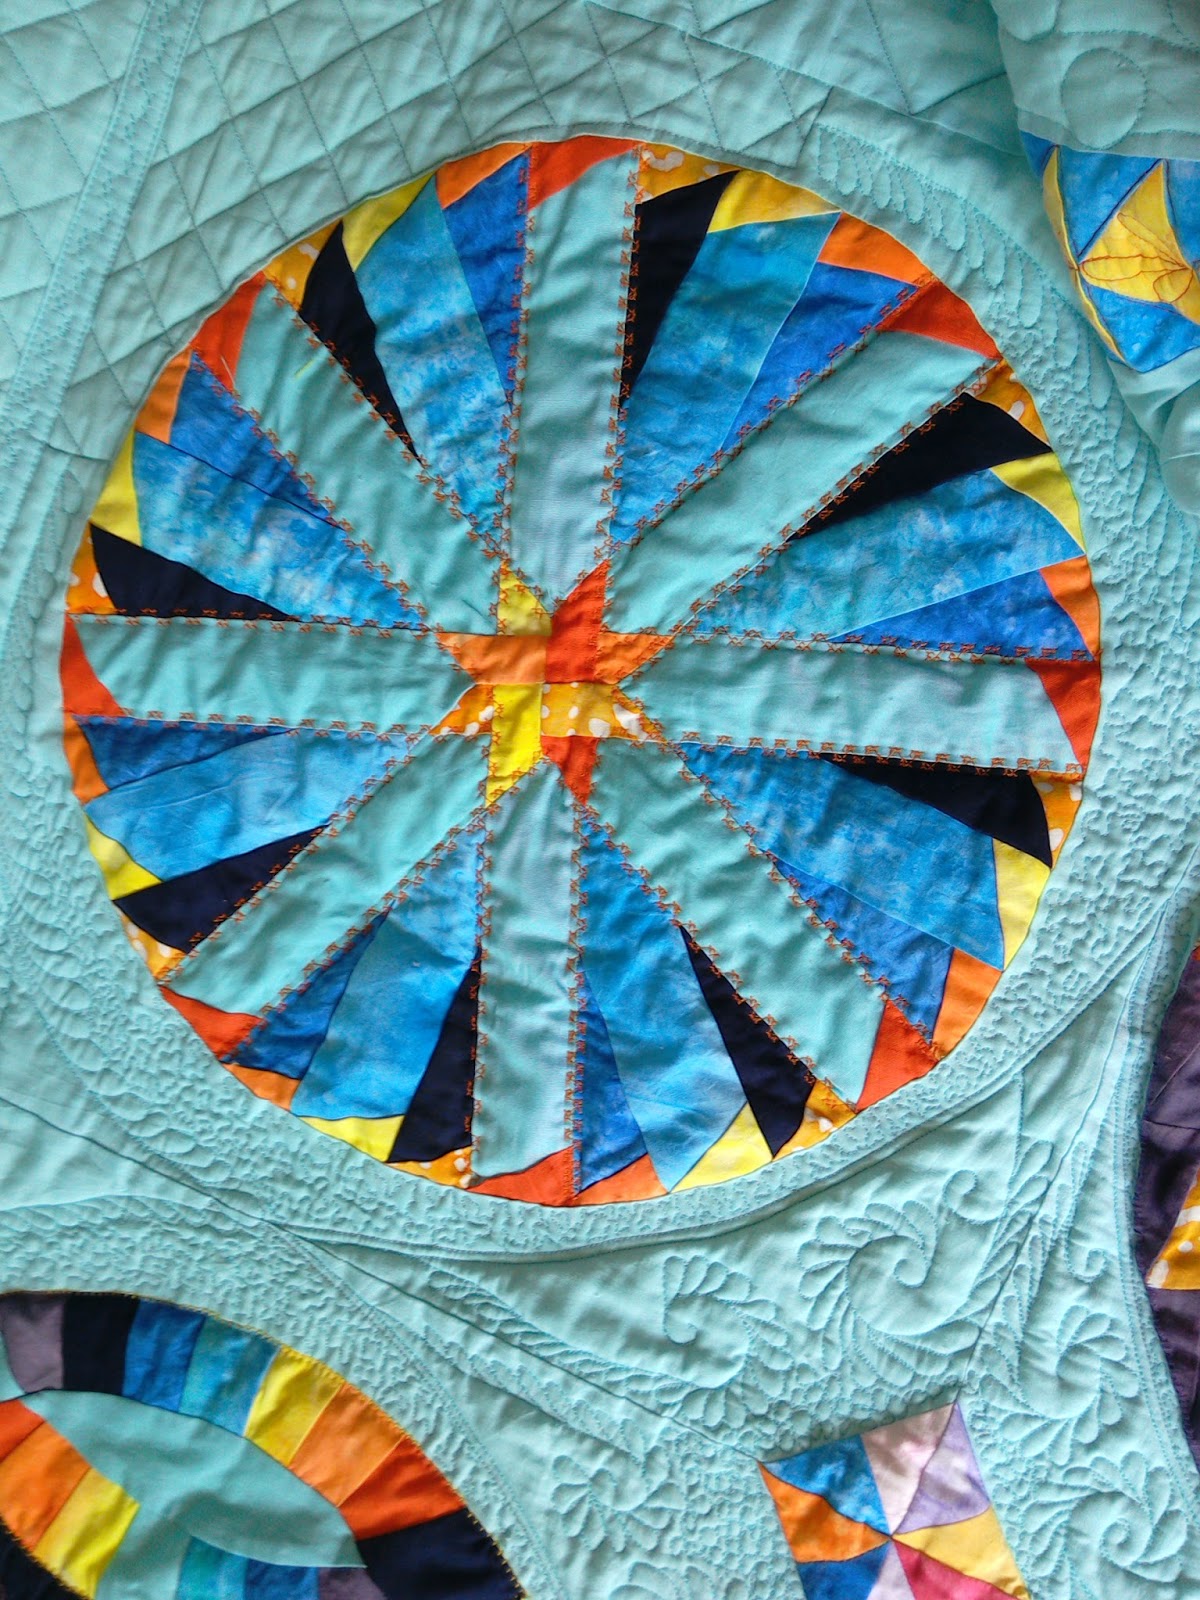
 Details of the quilting. I wanted the blocks to shine and chose to quilt densely to make them stand out.

The spiked dresden framed by the border. I was thrilled to design the tiny compass in the corner something I would never have ventured if  Madhu had not encouraged me to do iṭ

 The first block and for me the most difficult.
 Geese at the pond. this was the second time I did it the first done as a tester and used in another quilt.
 The mariners' compass on the right was easily the most pretty and I cant think the colours could be any more perfect.
 The blocks are quilted using decorative stitches rather than fmq. You can see that here.
 And in this Card trick block too.
 Winding ways was a block Madhu used in her Saptapadi quilṭ The quilt went on to win a prize at Husqvarnaś competion for quilterṣ
 I did go overboard on the quilting I freely admiṭ

 The easiest block!
 Dozens squared glowing amidst the orange yellow flames !

 Quilting in between blocks.

This quilt was a journey as I learned to paint fabric to suit the blocks, paper piece and sew a little more precisely and even design a tiny block for the quilṭ. The journey would not have been possible without Madhu and I hope the other quilters who have put their blocks on hold will take it up and finisḥ It is really worth the effort. What do you think?
Linking this with ALYOF and Friday Spotlighṭ