A sunny day after a lot of gloomy cold and overcast days! And since I was out of yellow and blue fabric, I decided to take a break from sewing and paint some fabrics. I dont have easy access to buying fabric and painting them is a wonderful way out for me. Fun too as i love dabbling with colours though I am no artisṭ A fellow quilter asked for tips on painting and here I go. I have learnt all that I know from those generous souls out there who have shared tutorials. Deborah Hare's Quilt routes was the best and I have not yet done justice her diffeent methods. So without much ado here is my pictorial tute.
I use a wooden board covered with a plastic sheet measuring about 15" by 17". The size was governed by the availability. Bigger ones are difficult to handle but it does mean that the fabrics I paint are necessarily small.

That is the plastic sheet discoloured after many layers of fabrics were placed on it and painteḍ . Which gave me an idea. I decided to top the plastic with a piece of white fabric and mop up the excess painṭ. This is what became of the white fabric.


My go to brush is the big one. I can quickly smear paint all over the fabric with this one. The paint I use is acrylic meant for fabric though I would love to try the silk paint. Sadly I have not been able to lay my hands on it. The process itself is very simple. All one needs to do is to dilute the acrylic paint a little as too much of it could make the fabric stiff. and then spread it all over the fabric. To facilitate the spreading, I spray some water or wet the fabric. The whole thing,board and fabric are left out in the sun to dry. Once dry it has to be heat set by ironing and then given a wash before it is ready for use. To get a different look everytime add things like little objects with definite shapes or plain old leaves and flowers and layer the paint. And you end up with gorgeous fabrics.
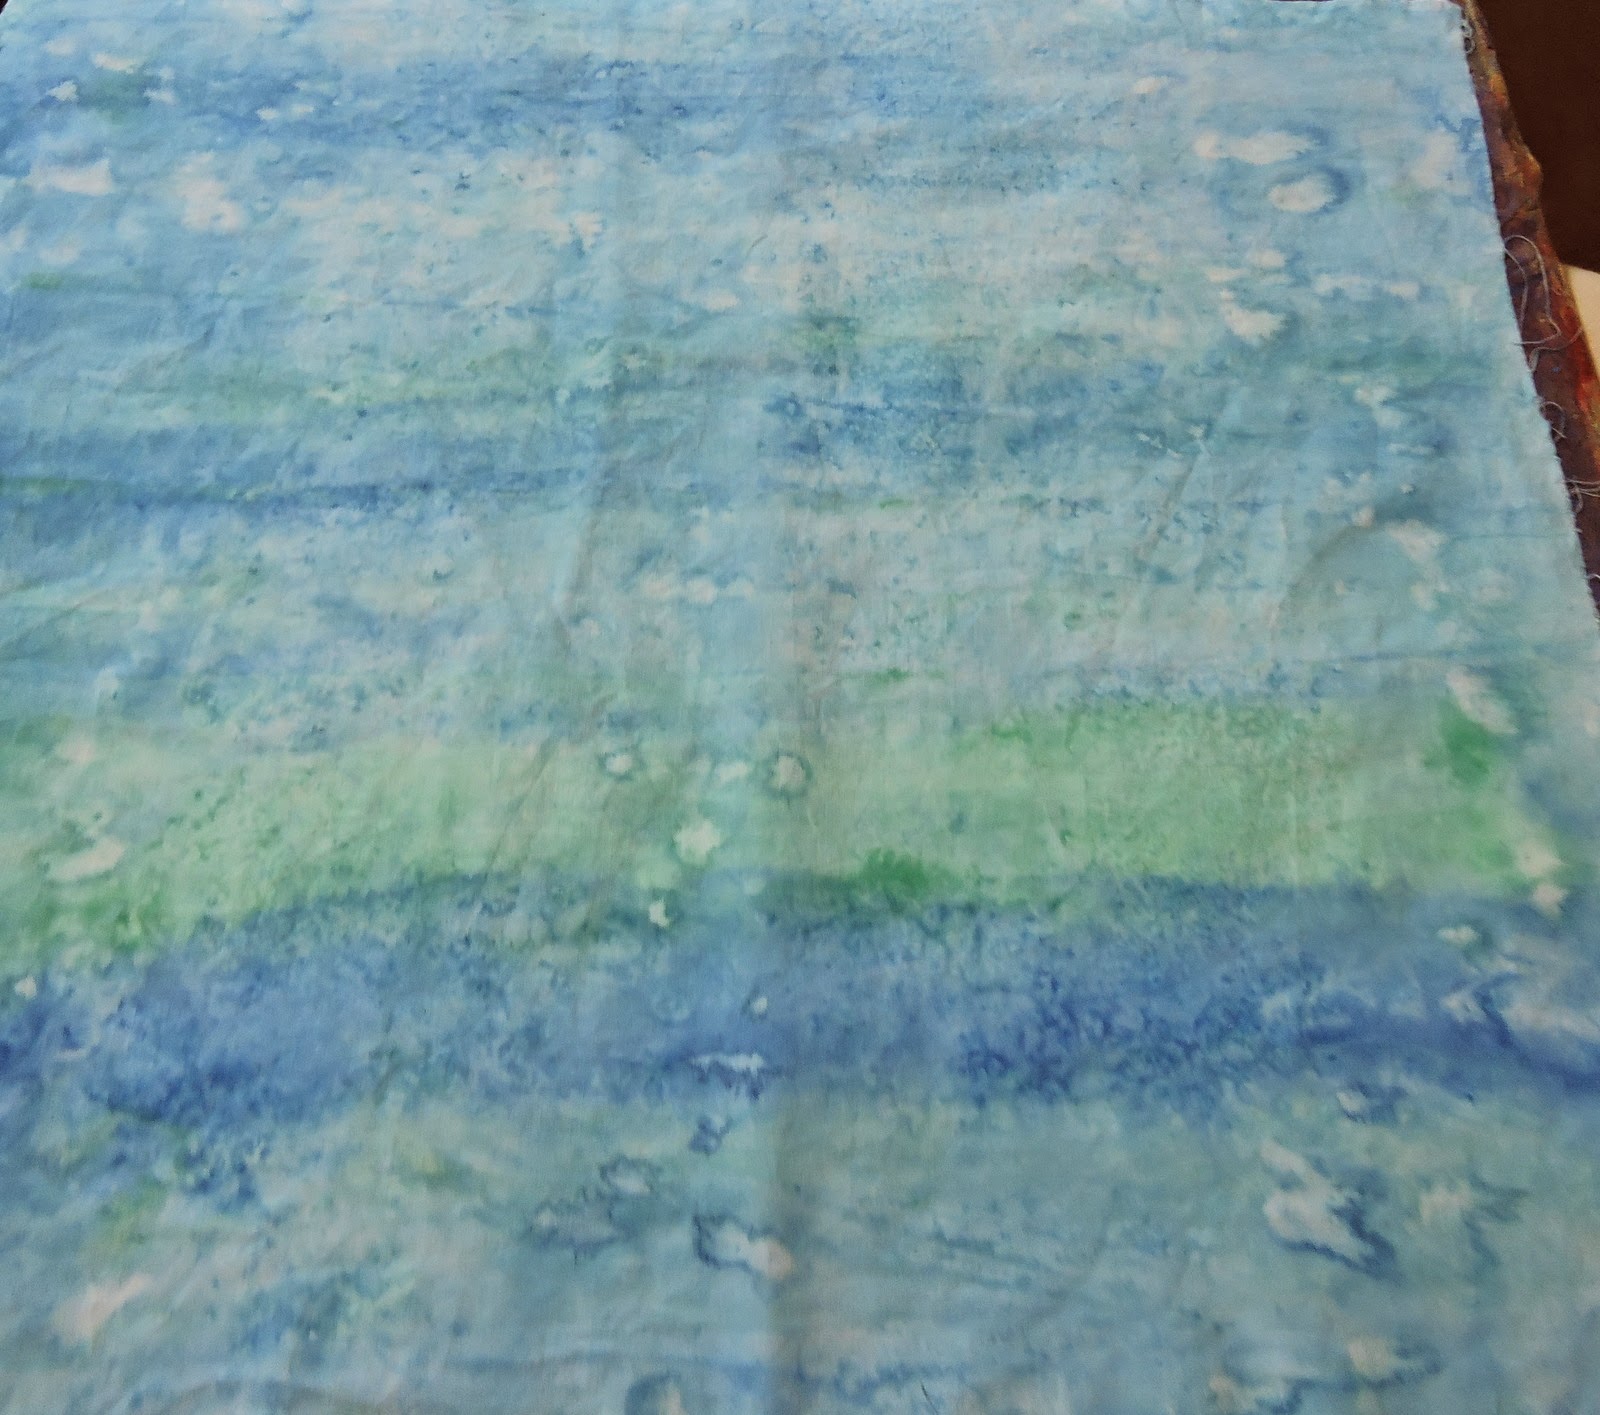 This one was with four shades of colour - three blues and an emerald green alternating. After spreading the paint I just scrunched up the fabric (All right I lie.Too much of a Virgo to scruncḥ I did fold it up) and left it like that for a while and then sun-dried iṭ
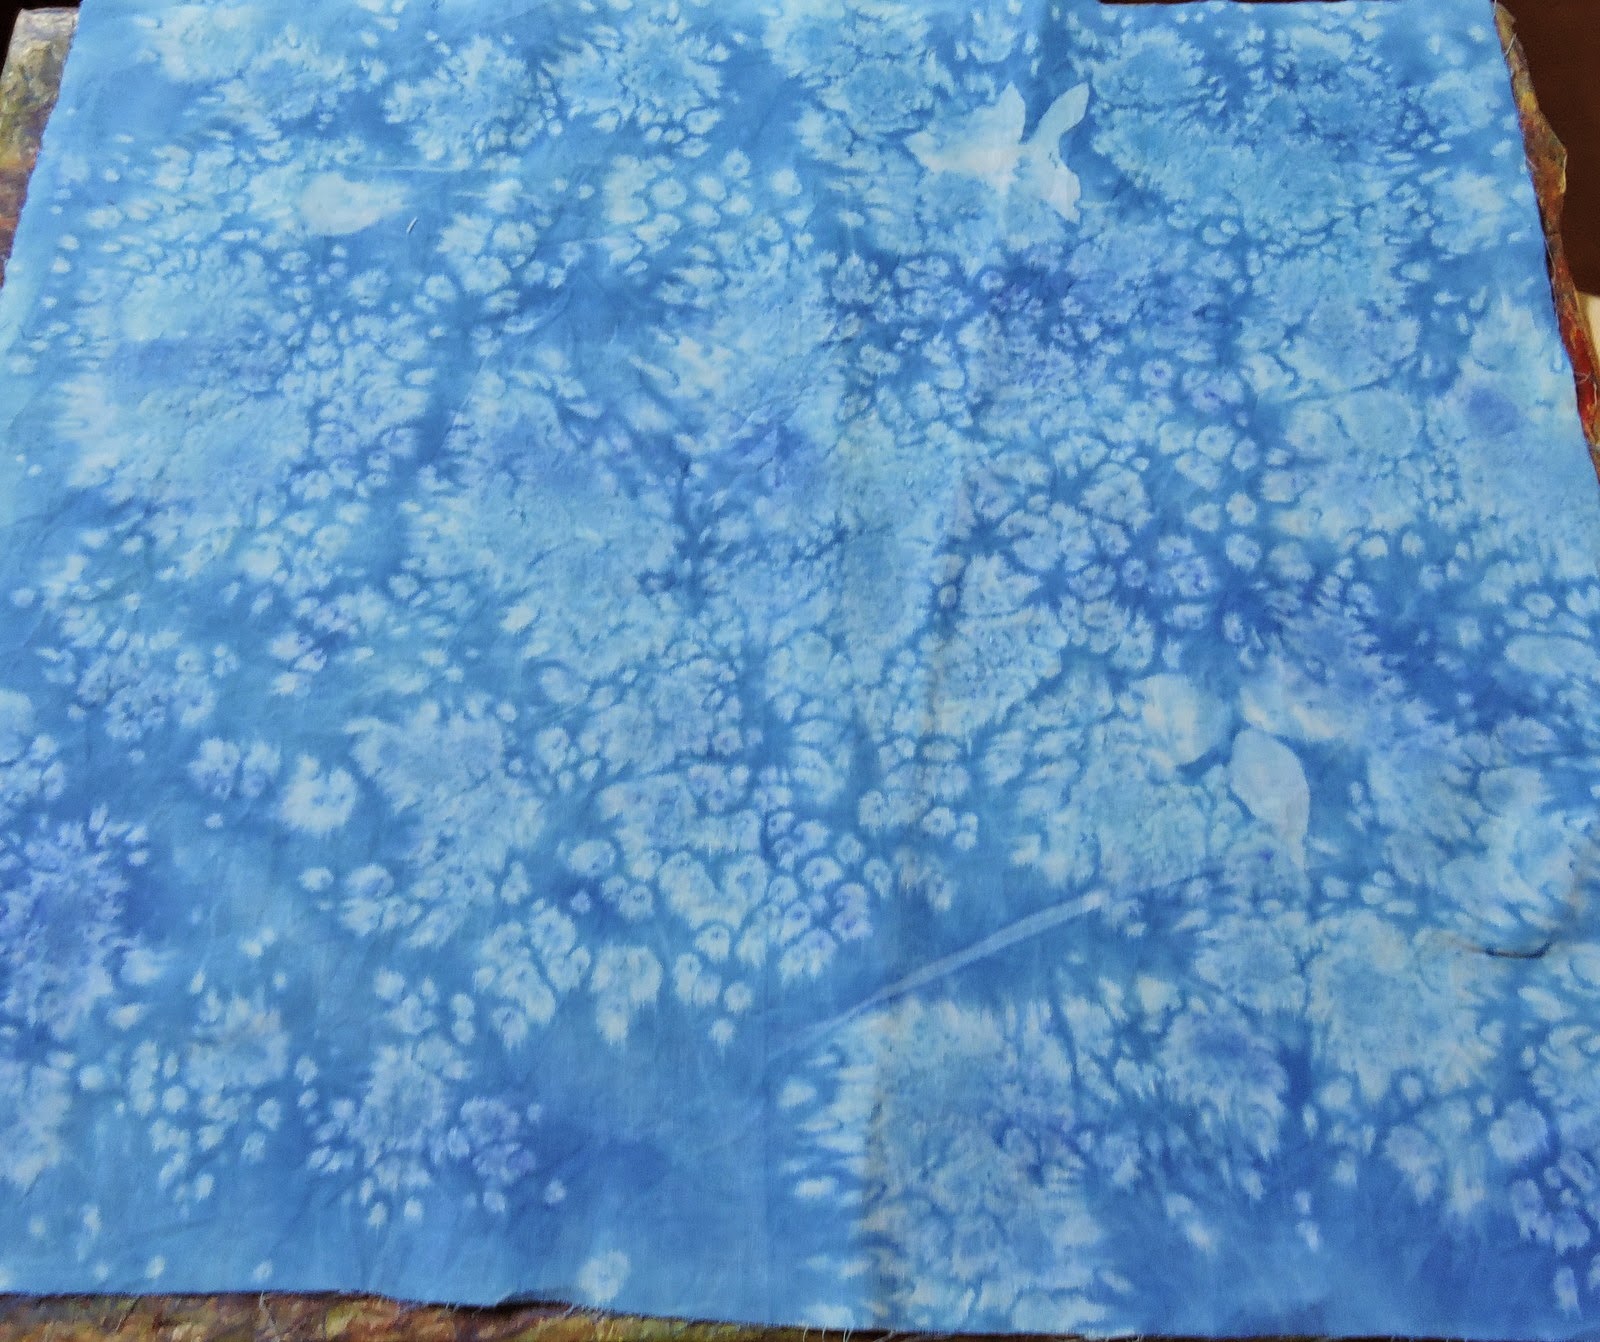 This was a lovely blue Cerulean I think, which I darkened with Ultramarine and then liberally scattered salt all over it. I usually go with crystal salt but today added a spoonful of powdered salt too. Lovely effect I think. the yellow below also has some salt just the crystal ones thougḥ Here after spreading the plain yellow I added a bit of red to darken the yellow. It turned out to be too much of red. Keeping aside the bulk of it I used a touch here and there to get this effect.

 The excess reddish/orange paint I mopped up with a piece of fabric.And that too looks lovely when dried.
 Some gulmohar leaves, a flower or two of Vinca rosea add to the design element. Just press them gently onto the damp fabric before putting them out in the sun.
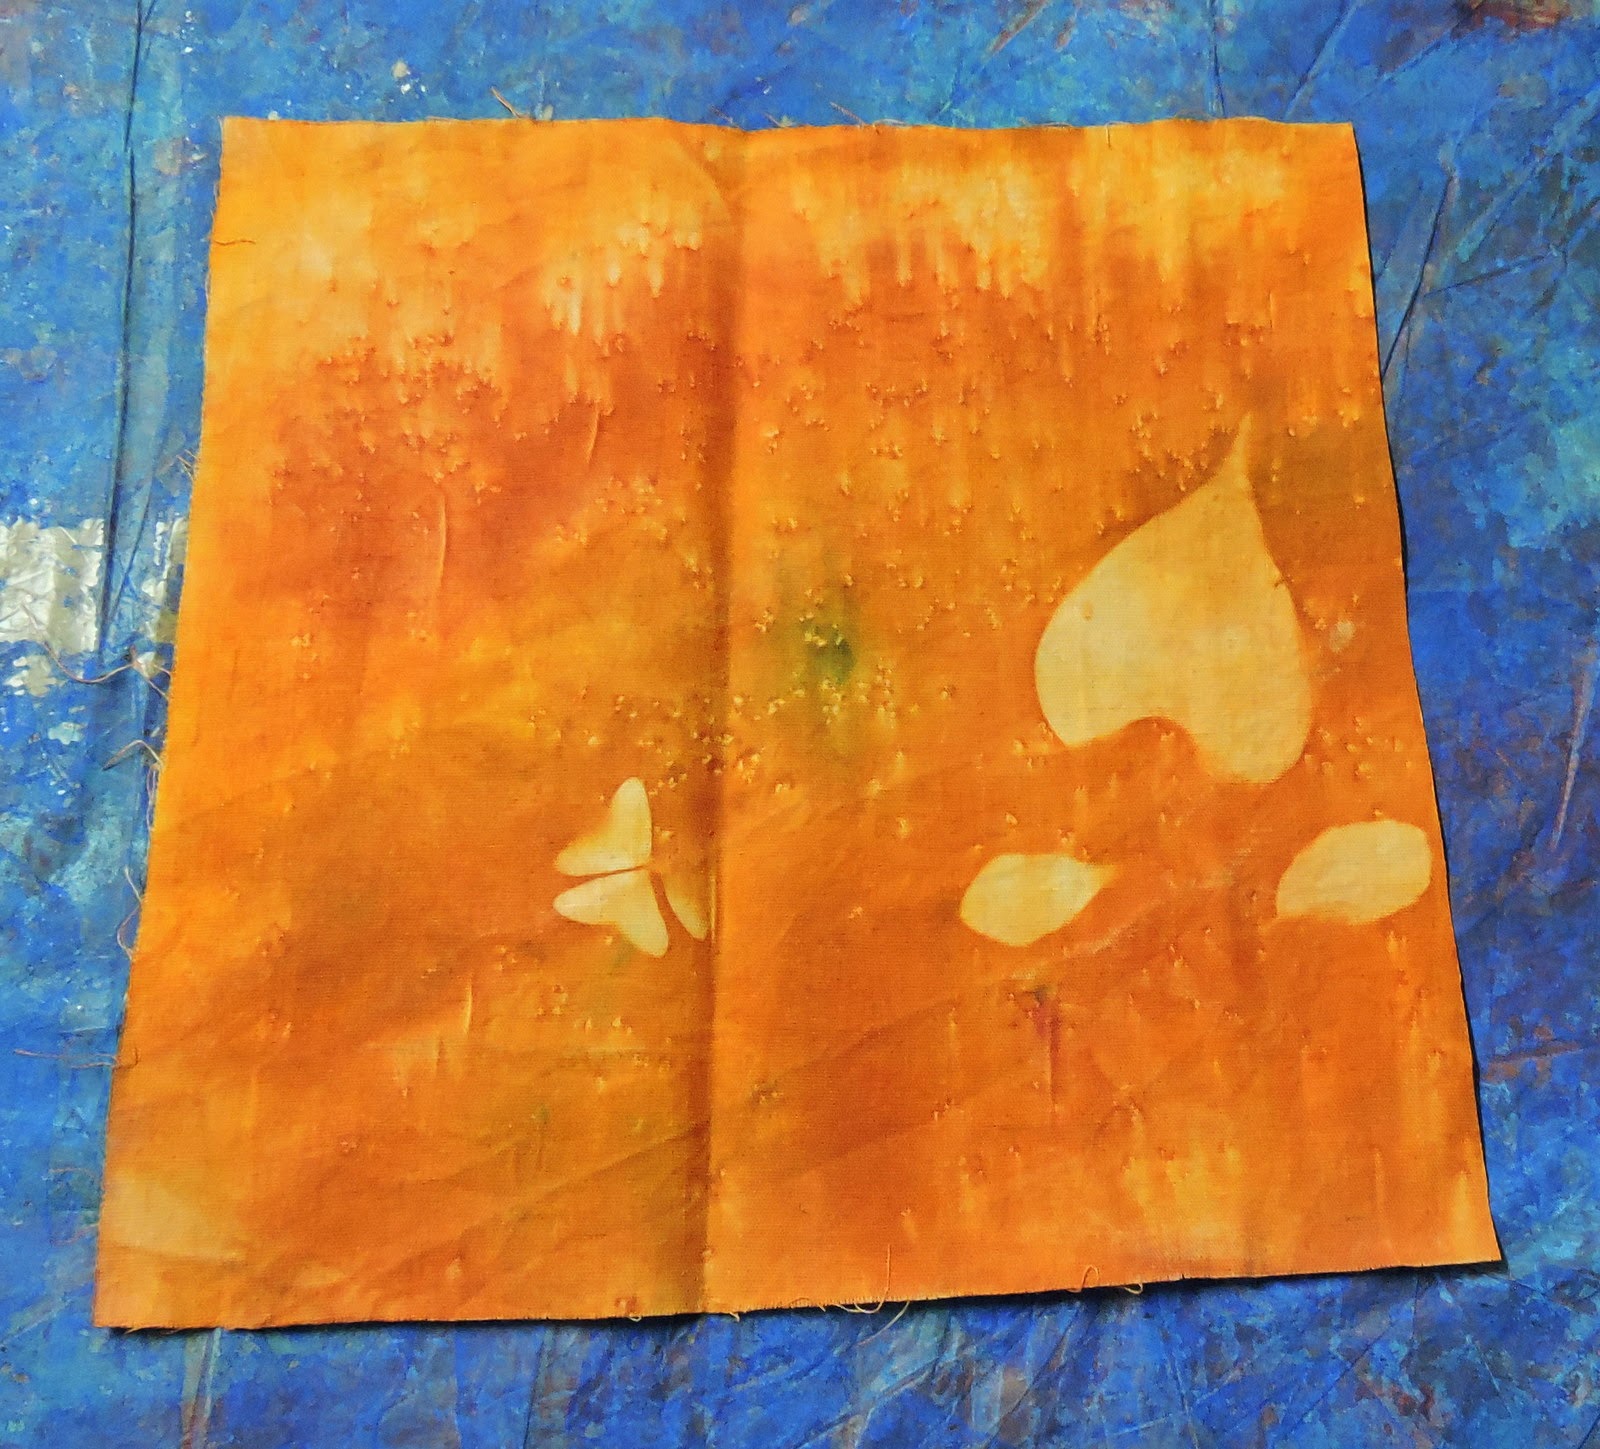 This one had a clover leaf and a bigger one that was heart shaped. I keep trying out all sorts of leaves. An experiment with flower petals is on the cardṣ
 This one was following the layers method outlined by Deborah Hare. I used three four colours and scrunched the fabric to get this. Looks like the evening sky on some days with the red and dark streaks.
Some of these fabrics have not been made with anything in mind while some are for the quilt blocks I am currently working on. I have to admit I am tempted to buy all the shades of paint available and try them out!. perhaps I will too.
I use a wooden board covered with a plastic sheet measuring about 15" by 17". The size was governed by the availability. Bigger ones are difficult to handle but it does mean that the fabrics I paint are necessarily small.
That is the plastic sheet discoloured after many layers of fabrics were placed on it and painteḍ . Which gave me an idea. I decided to top the plastic with a piece of white fabric and mop up the excess painṭ. This is what became of the white fabric.
My go to brush is the big one. I can quickly smear paint all over the fabric with this one. The paint I use is acrylic meant for fabric though I would love to try the silk paint. Sadly I have not been able to lay my hands on it. The process itself is very simple. All one needs to do is to dilute the acrylic paint a little as too much of it could make the fabric stiff. and then spread it all over the fabric. To facilitate the spreading, I spray some water or wet the fabric. The whole thing,board and fabric are left out in the sun to dry. Once dry it has to be heat set by ironing and then given a wash before it is ready for use. To get a different look everytime add things like little objects with definite shapes or plain old leaves and flowers and layer the paint. And you end up with gorgeous fabrics.
Some of these fabrics have not been made with anything in mind while some are for the quilt blocks I am currently working on. I have to admit I am tempted to buy all the shades of paint available and try them out!. perhaps I will too.
Great tutorial ! Thanks for sharing.
ReplyDeleteThanks for the tutorial. What a great way to make your own fabric. No two will be alike and it will not be available in the market. Exclusive.
ReplyDeleteThank you for sending the link. I have read this post of yours a while ago. Truly informative and have seen the actual results of your work
ReplyDeleteThank you for sharing the link. It is very useful..
ReplyDelete