Showing posts with label fabric paint. Show all posts

Friday, September 30, 2016

Never too late

It seems like there is some kind of jinx whenever I set a goal for the month. Last month I had no internet service and could neither blog or upload a photo. This month I completed the quilt top very early in the month and spent a week making gifts and stuff for family. I was going to my hometown and nowadays feel like nothing can compete with a handmade gift. Trip over and I was back to quilting the Old McDonald quilt top or flimsy as I believe it is called.
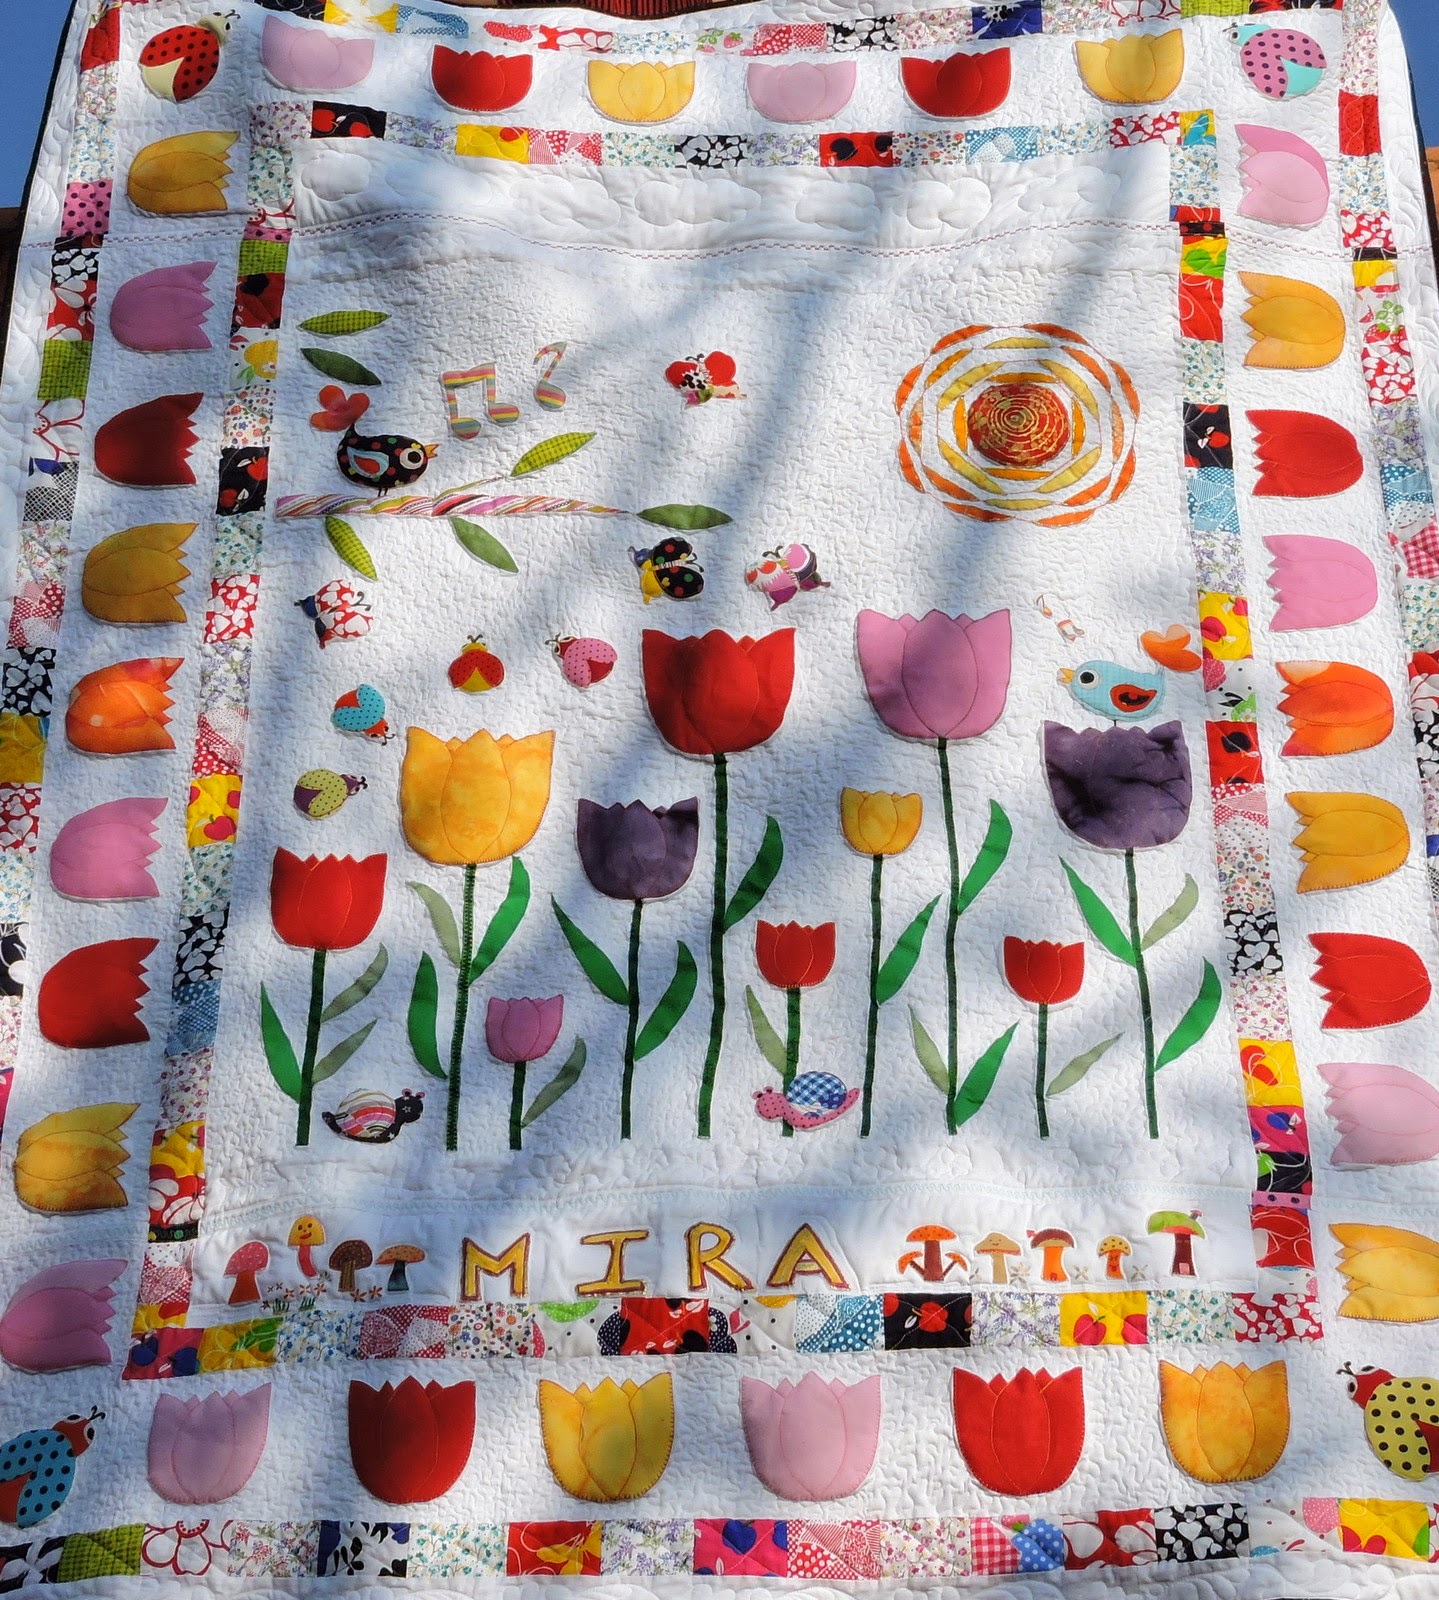
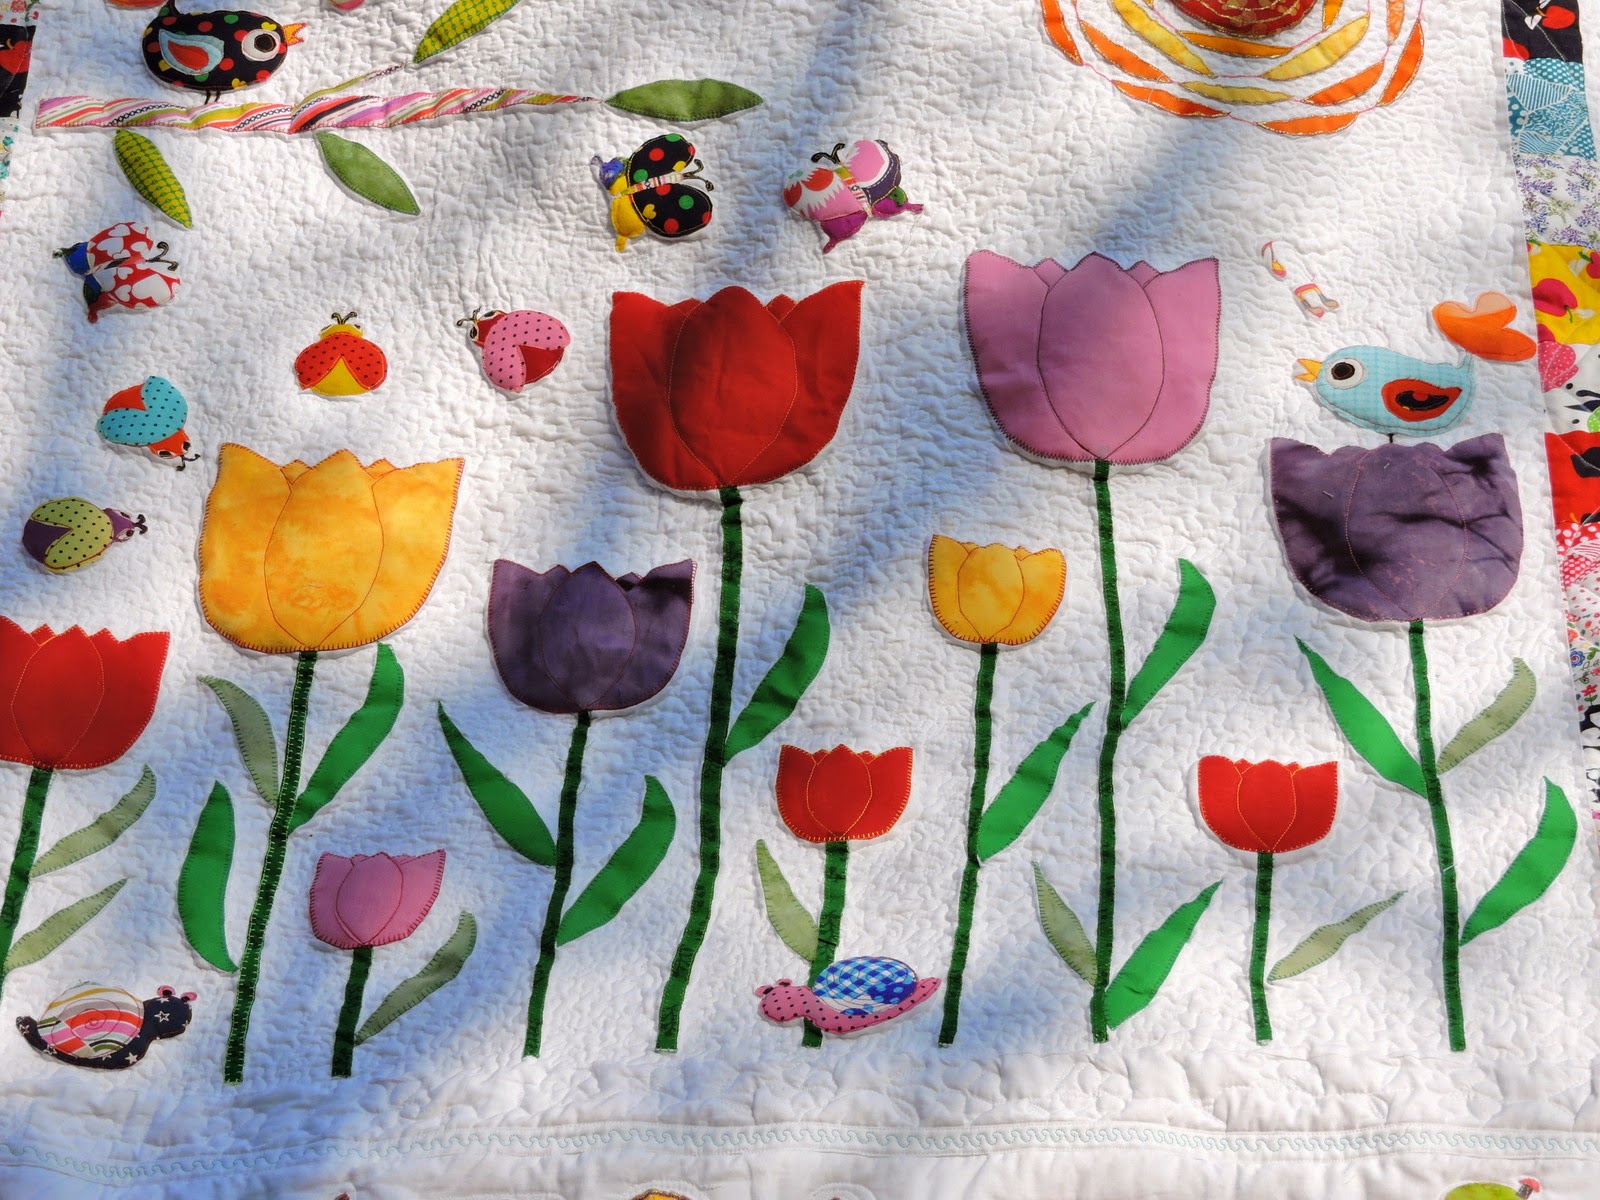
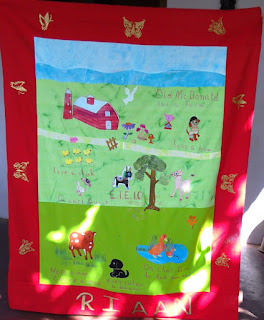
As you can see from the photo it is all applique and I had decided that I did not want to quilt it all over. It would interfere with the applique I felt and decided to tie the quilt using single stitches by machine.
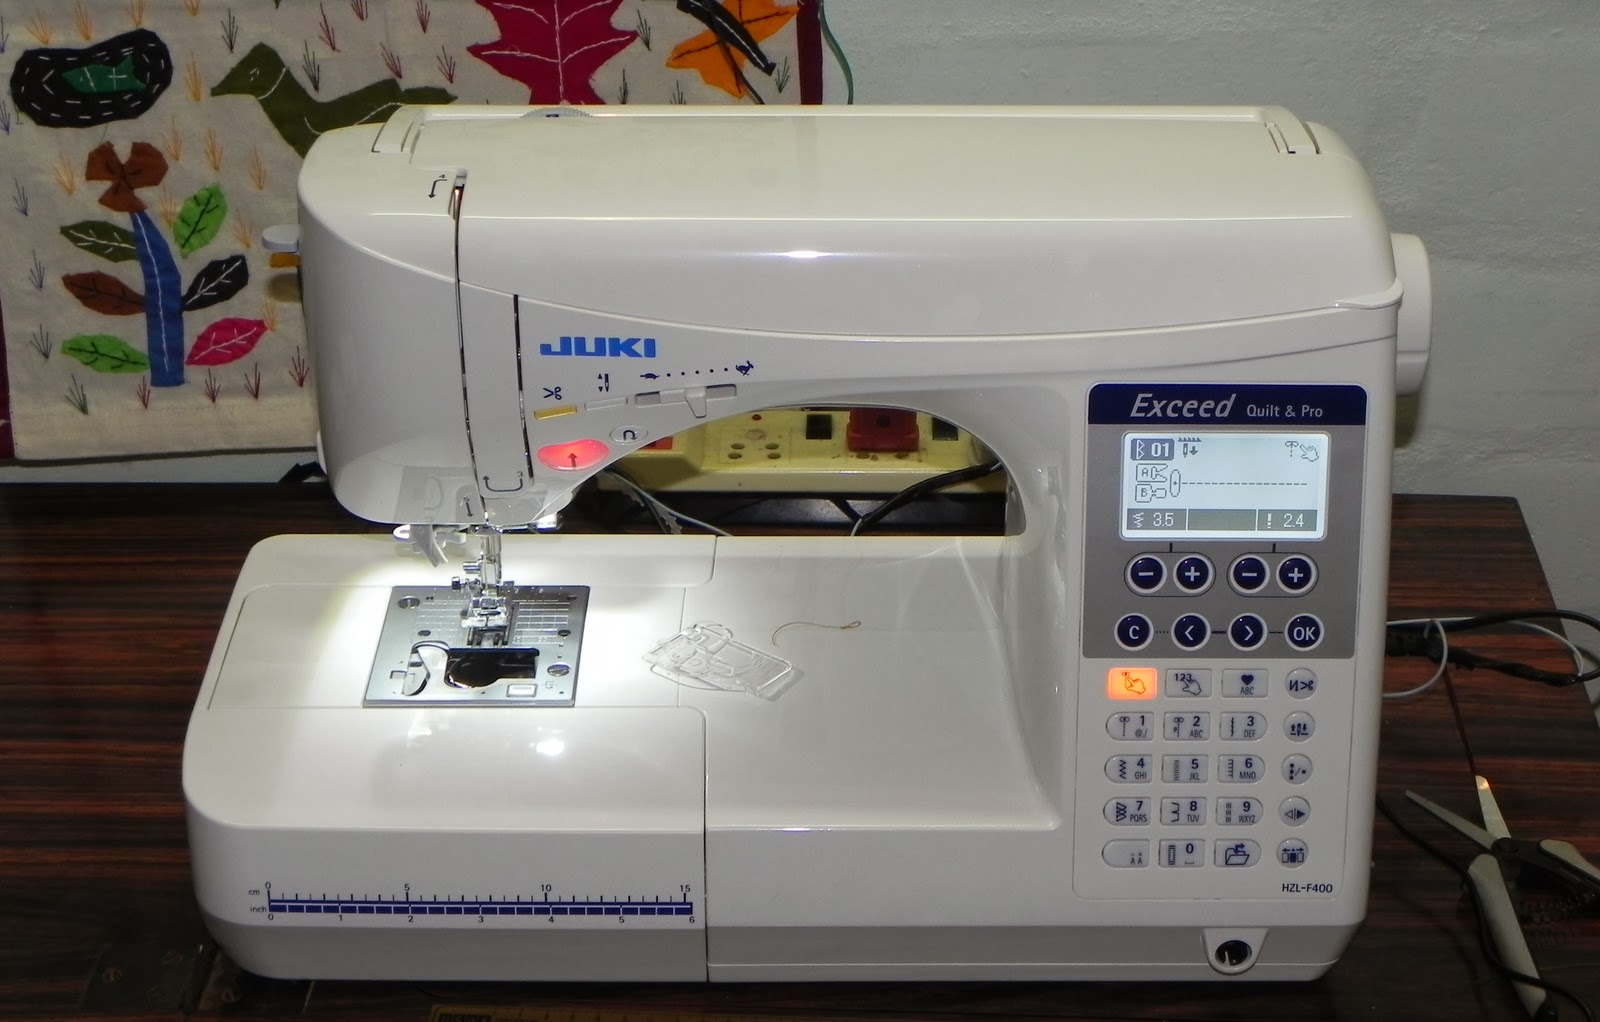
That should have been a simple exercise except my machine started acting up. My needle was going beyond the slit in the needle plate and after breaking about half a dozen needles I am at a standstill. Straight stitch is no problem but for some reason when I thought I would fmq small flowers again a needle broke.
There is no sound more jarring than a needle breaking I feel. I have set aside that quilt for the day and am just catching up on my Splendid Sampler blocks. I often notice that when my machine has issues in fmq going back to regular sewing seems to make my machine sane. Tomorrow I will try the quilt again. I still think that I should be able to complete the quilting at least as this month's target though not the binding.
Linking with OMG
And the good news is that I managed to coax my machine into cooperating and the quilting is done. The quilt is still in need of cleaning and so I won't post a photo of it right now. Like I said it is Never too late to meet your goal. Just got to keep at it.

Friday, January 30, 2015

Springtime quilt

This one has been in the making for a while. I had to put it away couple of times to accommodate other quilts and projects and also because my sewing machine had minor fits of tantrums when asked to do a lot of FMQ. Well I am not one to give up easily and after multiple changes of needles and thread and freshly wound bobbins, It is all done.


Linking this with 'a year of lovely finisheṣ Hope I can do it the next 11 months too.

Saturday, December 20, 2014

Colouring up my life

A sunny day after a lot of gloomy cold and overcast days! And since I was out of yellow and blue fabric, I decided to take a break from sewing and paint some fabrics. I dont have easy access to buying fabric and painting them is a wonderful way out for me. Fun too as i love dabbling with colours though I am no artisṭ A fellow quilter asked for tips on painting and here I go. I have learnt all that I know from those generous souls out there who have shared tutorials. Deborah Hare's Quilt routes was the best and I have not yet done justice her diffeent methods. So without much ado here is my pictorial tute.

I use a wooden board covered with a plastic sheet measuring about 15" by 17".  The size was governed by the availability. Bigger ones are difficult to handle but it does mean that the fabrics I paint are necessarily small.

That is the plastic sheet discoloured after many layers of fabrics were placed on it and painteḍ . Which gave me an idea. I decided to top the plastic with a piece of white fabric and mop up the excess painṭ. This is what became of the white fabric.


My go to brush is the big one. I can quickly smear paint all over the fabric with this one. The paint I use is acrylic meant for fabric though I would love to try the silk paint. Sadly I have not been able to lay my hands on it. The process itself is very simple. All one needs to do is to dilute the acrylic paint a little as too much of it could make the fabric stiff. and then spread it all over the fabric. To facilitate the spreading, I spray some water or wet the fabric. The whole thing,board and fabric are left out in the sun to dry. Once dry it has to be heat set by ironing and then given a wash before it is ready for use.  To get a different look everytime  add things like little objects with definite shapes or plain old leaves and flowers and layer the paint. And you end up with gorgeous fabrics.
 This one was with four shades of colour - three blues and an emerald green alternating. After spreading the paint I just scrunched up the fabric (All right I lie.Too much of a Virgo to scruncḥ I did fold it up) and left it like that for a while and then sun-dried iṭ
  This was a lovely blue Cerulean I think, which I darkened with Ultramarine and then liberally scattered salt all over it. I usually go with crystal salt but today added a spoonful of powdered salt too. Lovely effect I think. the yellow below also has some salt just the crystal ones thougḥ Here after spreading the plain yellow I added a bit of red to darken the yellow. It turned out to be too much of red. Keeping aside the bulk of it I used a touch here and there to get this effect.

 The excess reddish/orange paint I mopped up with a piece of fabric.And that too looks lovely when dried.
 Some gulmohar leaves, a flower or two of Vinca rosea add to the design element. Just press them gently onto the damp fabric before putting them out in the sun.
 This one had a clover leaf and a bigger one that was heart shaped. I keep trying out all sorts of leaves. An experiment with flower petals is on the cardṣ
This one was following the layers method outlined by Deborah Hare. I used three four colours and scrunched the fabric to get this. Looks like the evening sky on some days with the red and dark streaks.
Some of these fabrics have not been made with anything in mind while some are for the quilt blocks I am currently working on. I have to admit I am tempted to buy all the shades of paint available and try them out!. perhaps I will too.

Thursday, November 21, 2013

Eco Print

The water is on the boil and the steam rising up carries a lovely fragrance that permeates the house. No you are wrong. This is not a recipe blog or anything from the kitchen. Well it is from the kitchen but still about quilts. Or the fabric thereof. I am cooking up some fabric. Don’t smile! I can sense the uneasiness behind your smile. I am not ready to be carted off to the loony house. I am just ‘eco dyeing’ some fabric that is wrapped around a bundle of leaves and twigs. We went to the nursery to pick up some plants – a belated birthday gift for dh and I decided to grab some eucalyptus leaves from the trees that line that road. And that’s what is boiling and smells heavenly.

It all started when I decided to make this cushion cover for the challenge in the DQ group. 
I did not have the right colours for the water and decided to paint. Having read a bit about sun dried painting I decided to give it a go. And loved the way it turned out. That made me read more and I learnt about natural dyeing – with flowers and leaves. With a garden at my disposal I decided to go for flower dyeing. The pinky-violet indescribable dahlia and brilliant red African Tulip  were automatic choices. Look at them. 


Do you blame me? After the process the fabric wrapped around the dahlias looked so rich and lovely. The African tulips was however disappointing. But a couple of rinses and the colours washed away leaving me with fabric that looked soiled. More like dh's T-shirts after a bout of gardening. 
Well there was still leaves to try and that is what's cooking today. I am going to let the fabric steep in that liquid for a few days so we are not going to know the result of that experiment until the next blog. And today I learnt about adding salt with paint and scrunchy fabrics and using sea-sponge as an applicator. At this rate all the plain fabrics in my closet are going to end up as guinea pigs.
So what else is happening you ask. Got my new machine and yet to get to know its full working abilities.
 Dh tells everyone that 'you talk and it stitches'. Not quite but it does have some lovely features. I am holding myself back and finishing a quilt - back to one quilt a month target. But am in love with this feature -  thread trimmer set in the foot pedal. I did wonder if these features were just a waste of technology and money. I mean all one needs is a pair of scissors to snip the thread. But using it was an eye-opener. the machine leaves just enough thread to start stitching again. No more issues with the needle becoming unthreaded because the thread was short or having a long tail every time you start. All you need is to sew, back-pedal, trim and move and start stitching. I love it everytime I use it and since this quilt is scrappy and strippy I am using it a lot. And finally last month's projects are all here